Polka dot nails have quietly become one of the most searched nail art styles on Pinterest, and it’s easy to see why. The design is playful without trying too hard, works on almost any nail shape, and takes less skill than most manicure trends promise. Whether you want a full set of classic dots, a single accent nail, or a chrome finish with tiny scattered spots, polka dot nails adapt to whatever mood you’re in. This guide breaks down 35 fresh takes on the look, organized so you can find exactly the style that fits your skin tone, nail length, and personal taste. You’ll also get a simple step-by-step method for creating even dots at home, a breakdown of which tools actually make a difference, and answers to the questions people search for most. Save the ones you love and screenshot the tutorial section for your next at-home nail session, since this manicure style is one you’ll likely want to repeat.
What Are Polka Dot Nails?
Polka dot nails are a manicure style featuring small, evenly spaced circular dots painted over a base color. The dots can be uniform in size and color, or mixed for a more playful, hand-painted look. This style traces back to vintage fashion prints from the 1950s, when polka dot fabric patterns were a wardrobe staple, and it has remained a steady favorite in nail art because it’s simple to recreate, budget-friendly, and flattering on both short and long nails.
Unlike more complex nail art styles that require steady freehand lines or intricate stamping plates, polka dots forgive small imperfections. A slightly uneven circle still reads as intentional, which is part of why this design has stayed popular across decades instead of fading with a single trend cycle.
Classic & Timeless Polka Dot Nails
1. White Dots on Red Base
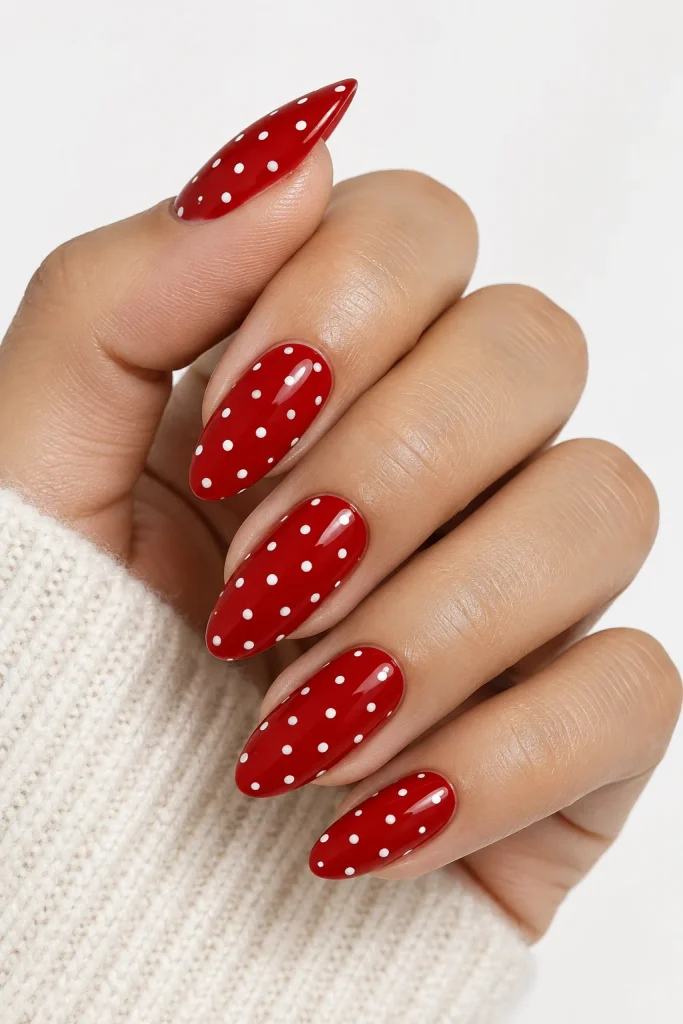
This combination is the original polka dot nail look and still one of the most requested at salons. The contrast is sharp, glossy, and instantly recognizable.
2. Black Dots on Nude Base
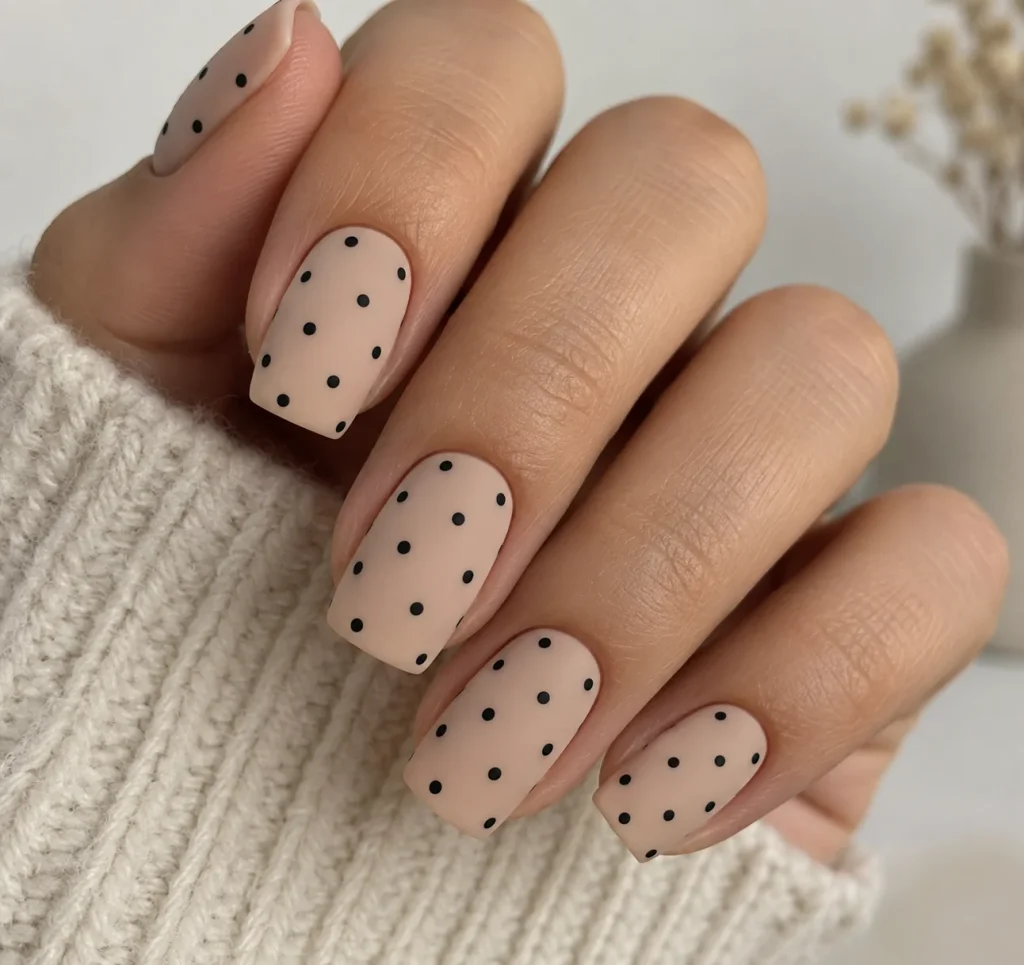
A quieter version of the classic. The nude base keeps things office-appropriate while the black dots add just enough personality without feeling too plain.
3. Navy and White Dots
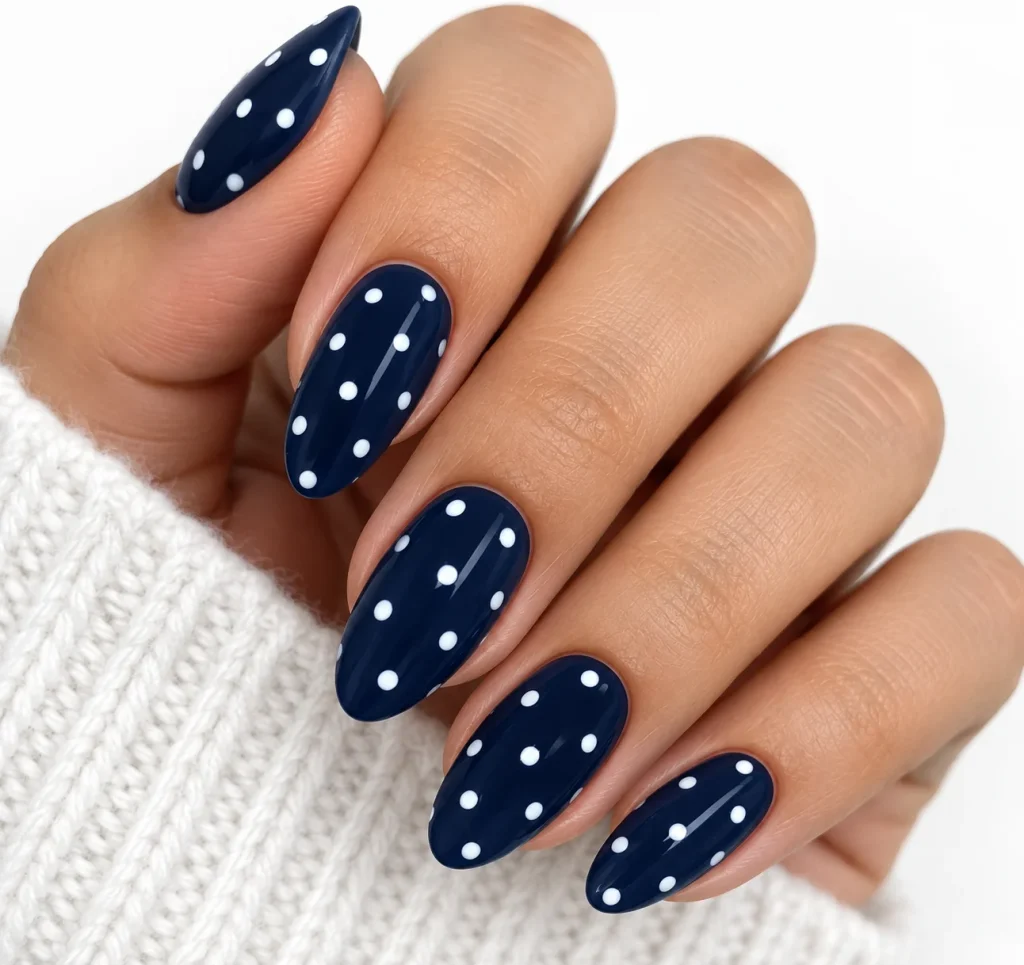
This nautical-inspired pairing works especially well on square or almond nails and photographs beautifully for Pinterest boards.
4. Brown Dots on Cream Base
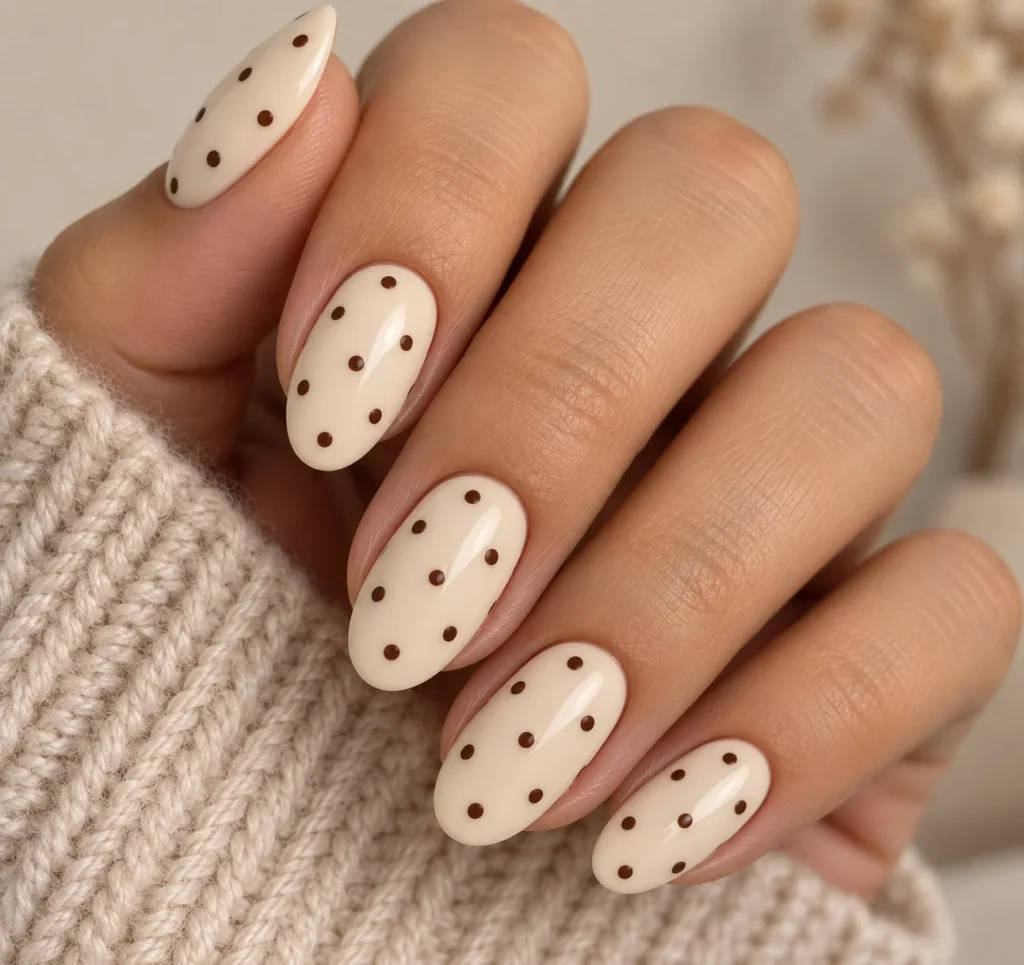
A warmer, softer take on the traditional combo that suits fall wardrobes without leaning into seasonal cliché colors.
5. Gold Dots on Black Base
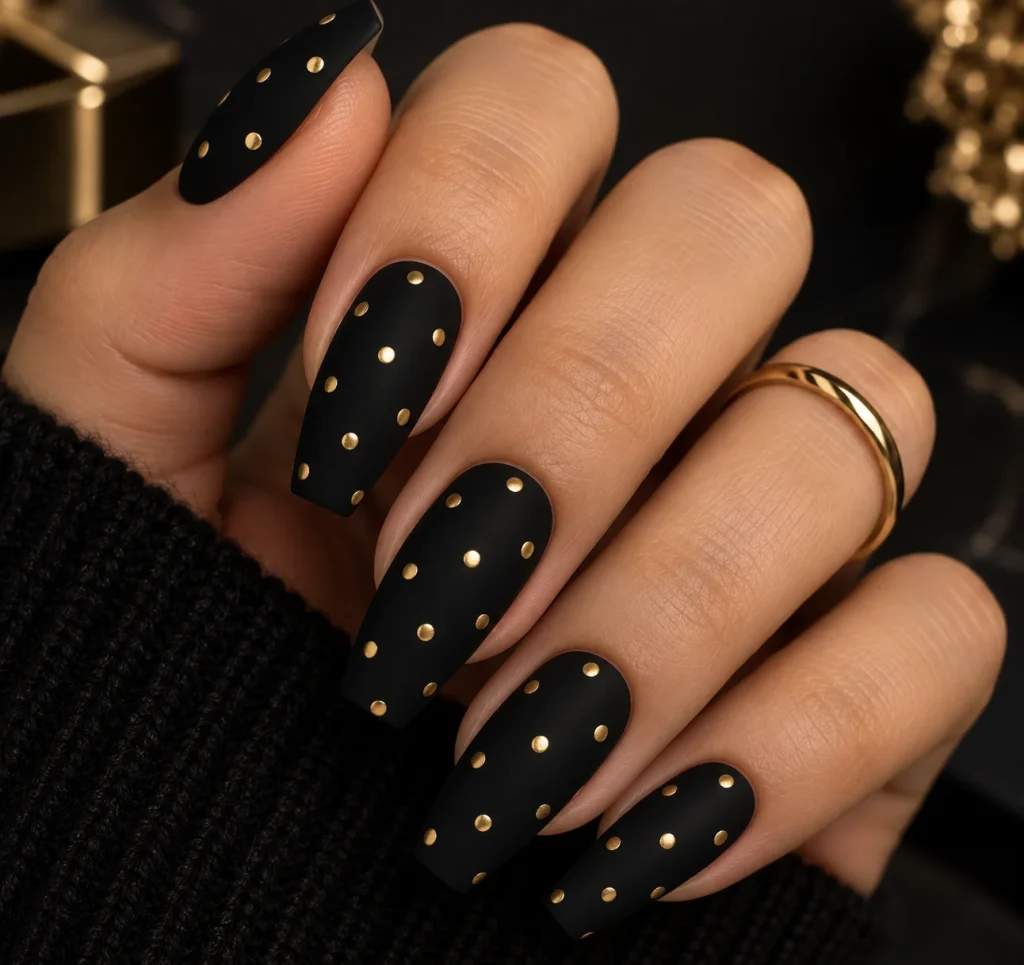
Small gold dots over a matte black base give a dressed-up, evening-appropriate version of polka dot nails.
6. Two-Tone Dot Outlines
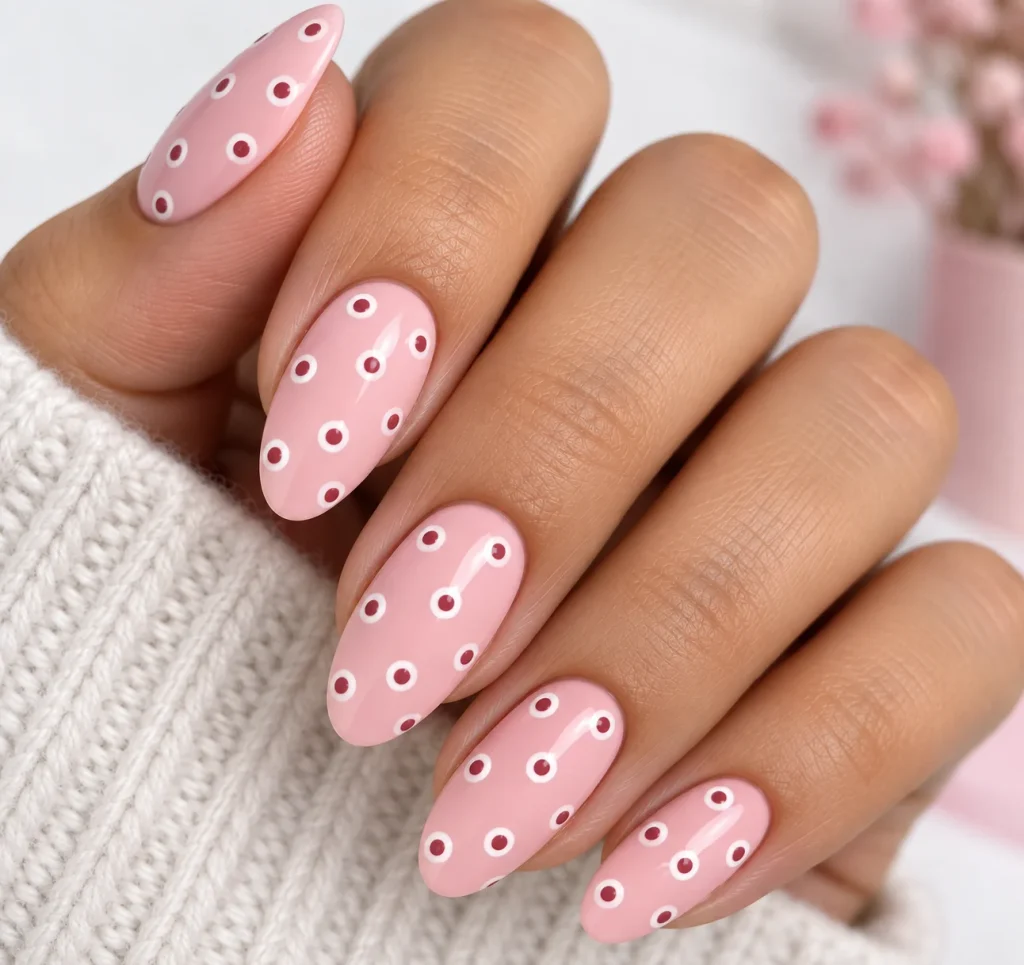
Instead of solid dots, outline each circle with a contrasting thin line for a more graphic, high-fashion finish. This works particularly well with a fine-tip nail art brush for cleaner outline control.
7. Burgundy Dots on Beige Base
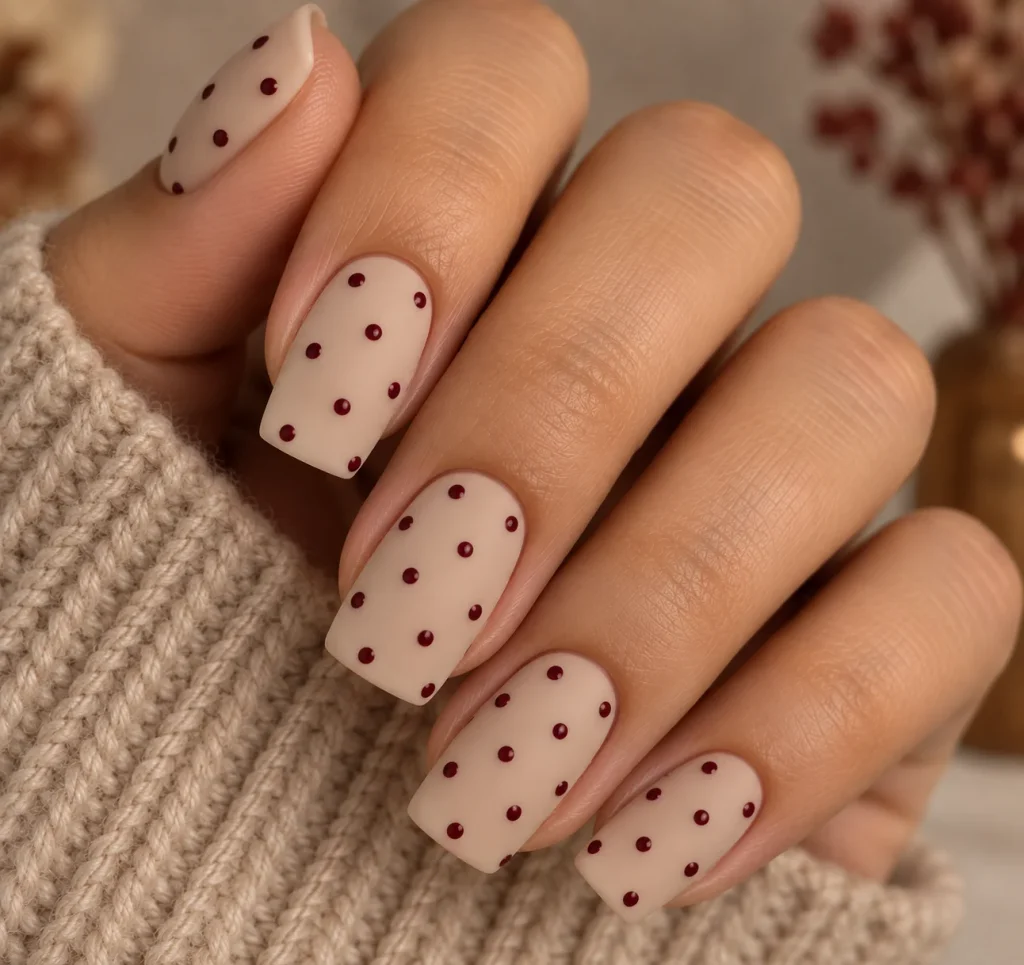
A muted, sophisticated pairing that transitions well from daytime to evening without needing a color change.
Minimalist Polka Dot Nail Ideas
8. Single Dot Accent
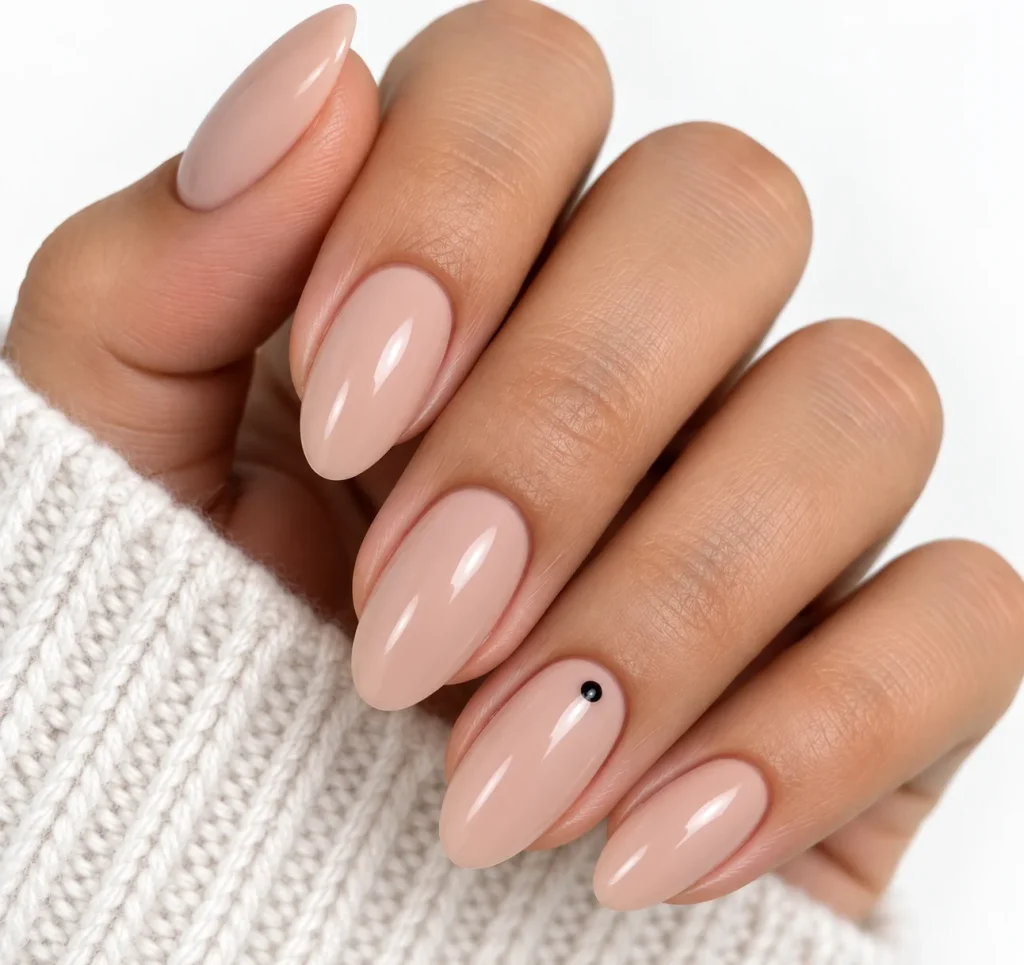
Skip the full pattern. Add one dot near the cuticle on just the ring finger for a barely-there detail that still reads as intentional.
9. Scattered Micro Dots
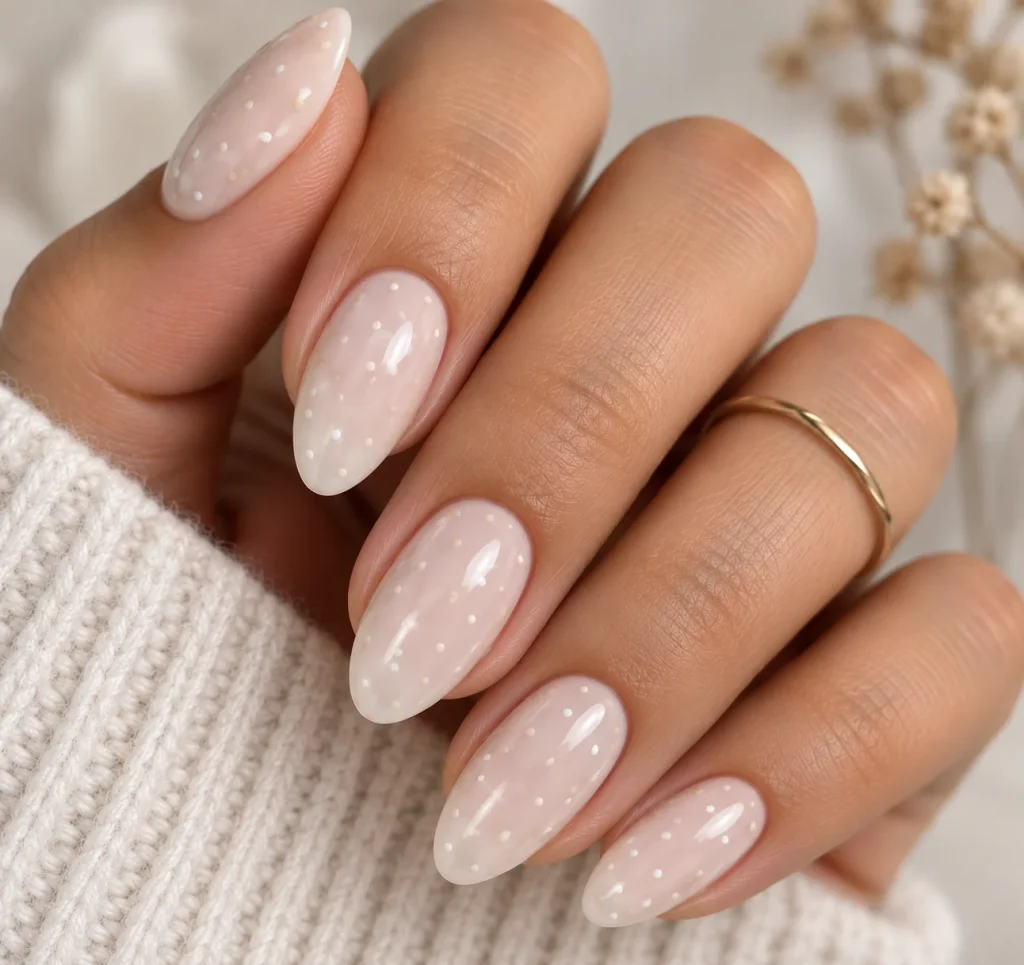
Tiny, randomly placed dots across a sheer or milky base create texture without looking busy.
10. Dot Border Along the Tip
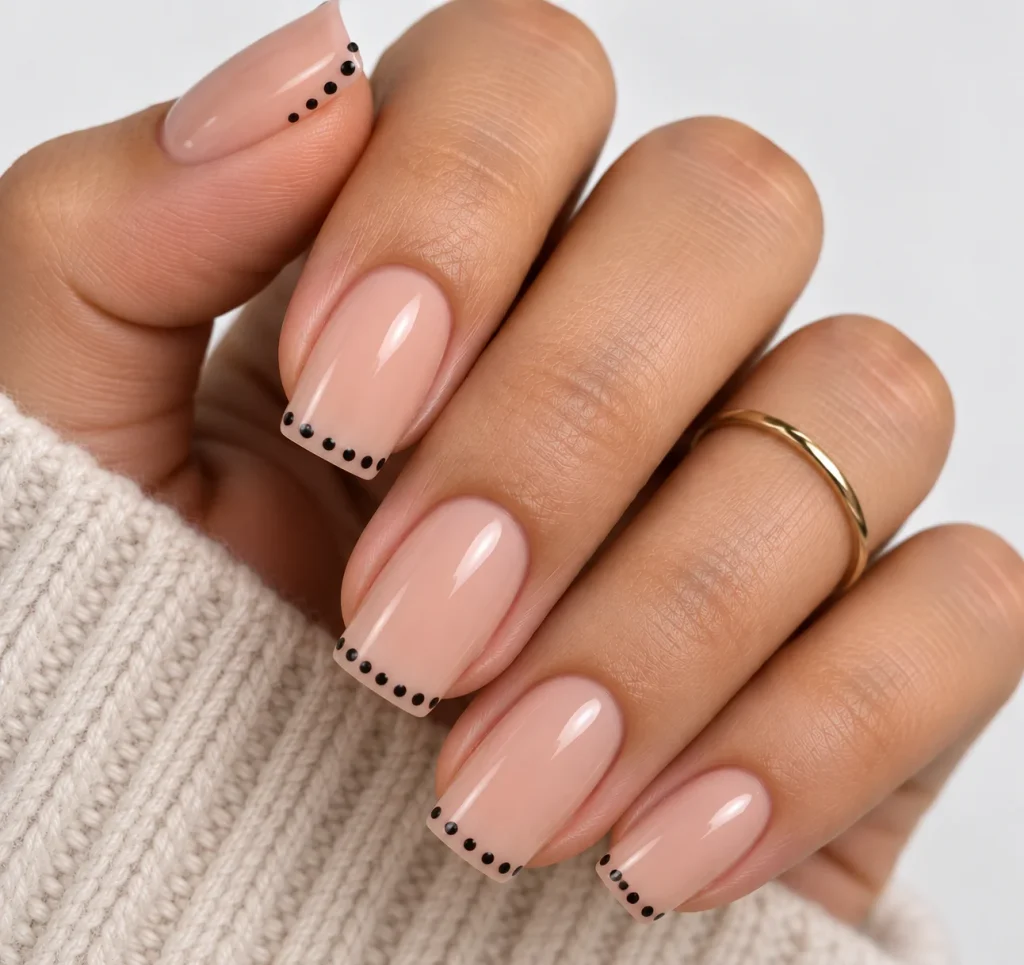
Line the free edge of the nail with a single row of small dots instead of covering the whole surface.
11. Negative Space Polka Dot Nails
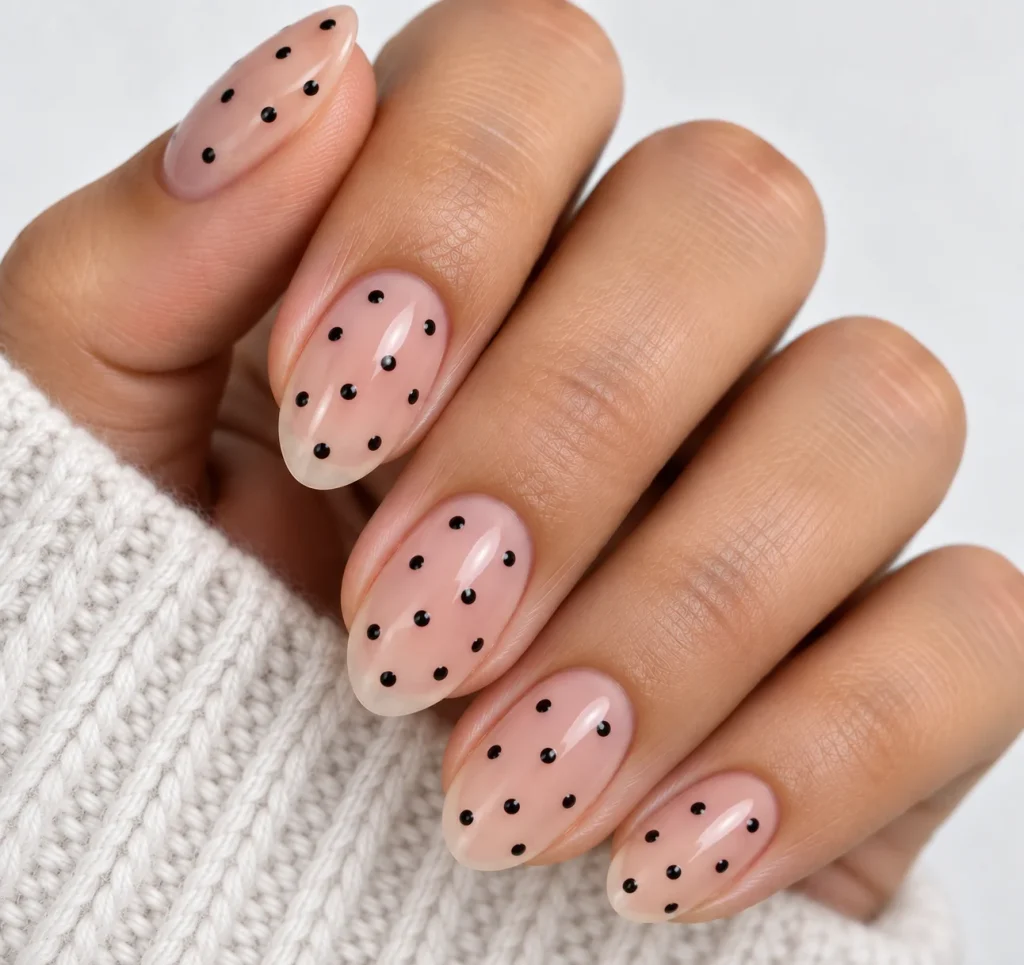
Leave the natural nail bare and only paint the dots directly on the nail bed, skipping polish everywhere else.
12. One-Nail Polka Dot Statement
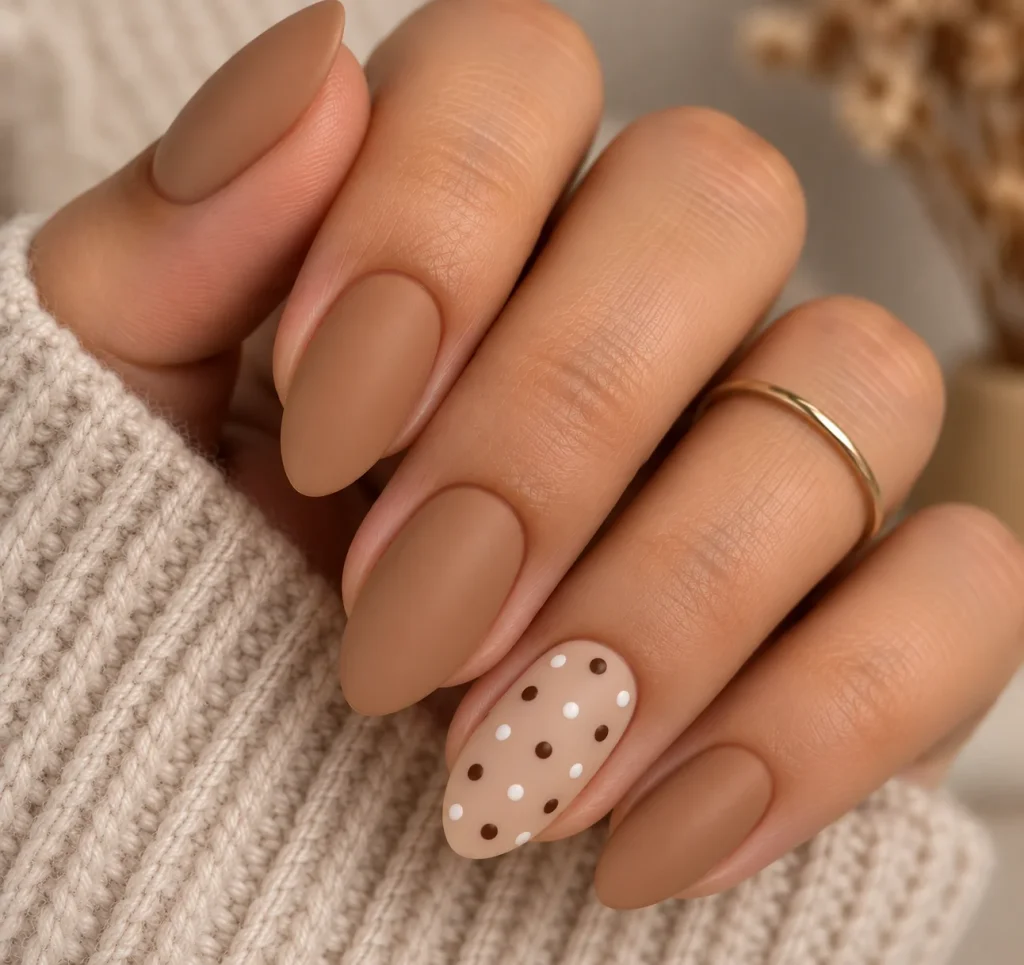
Keep four nails a solid, neutral shade and reserve the dotted design for a single accent nail, usually the ring finger.
13. Cuticle Line Dots Only
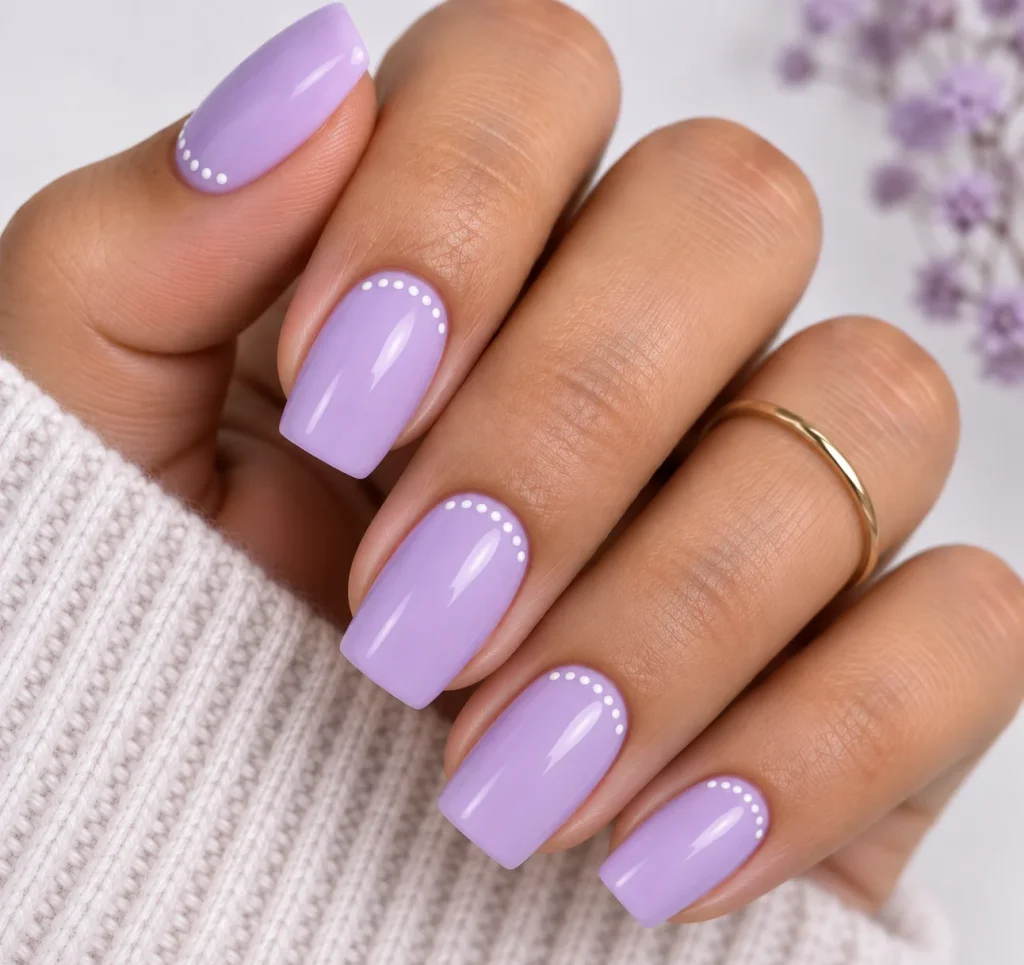
Place a thin row of small dots just above the cuticle, leaving the rest of the nail a clean solid color.
Colorful & Bold Polka Dot Nails
14. Rainbow Dots on White Base
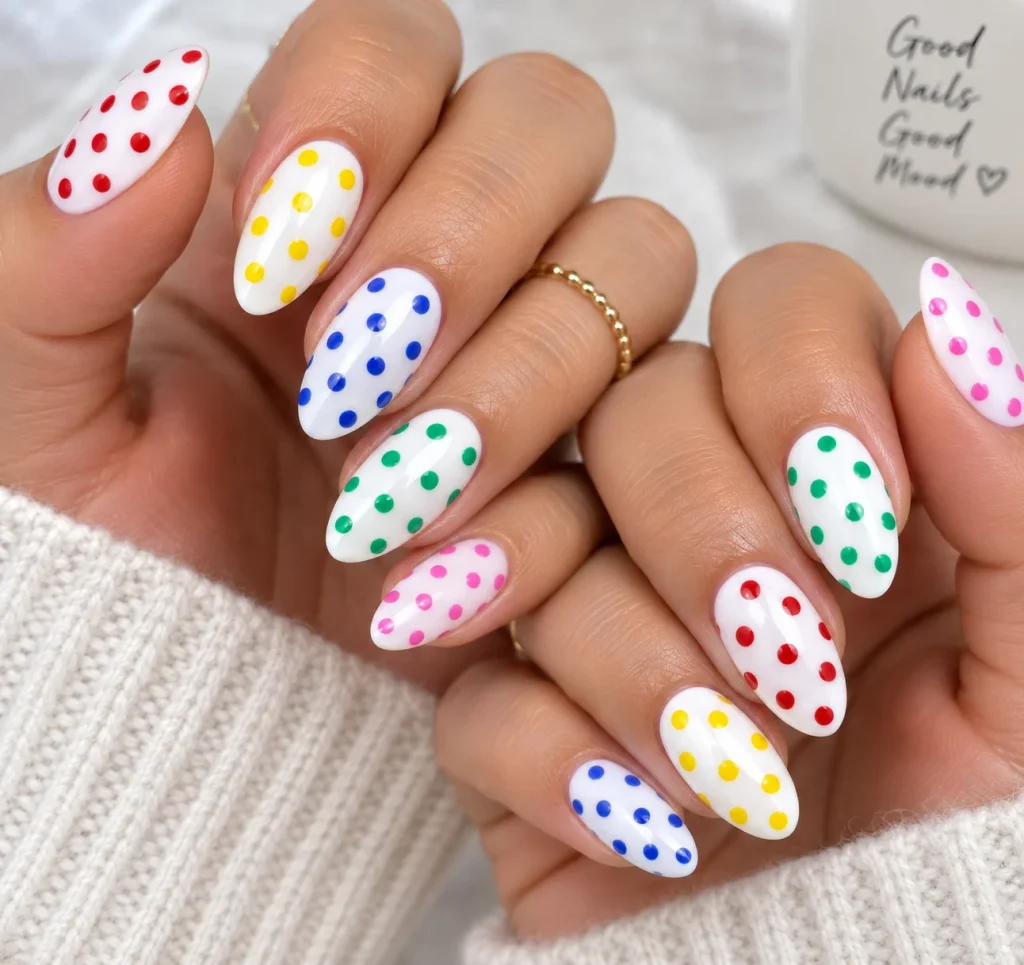
Each nail gets a different colored dot pattern, creating a fun, candy-like effect that’s popular among younger audiences on Pinterest and TikTok alike.
15. Neon Dots on Black Base
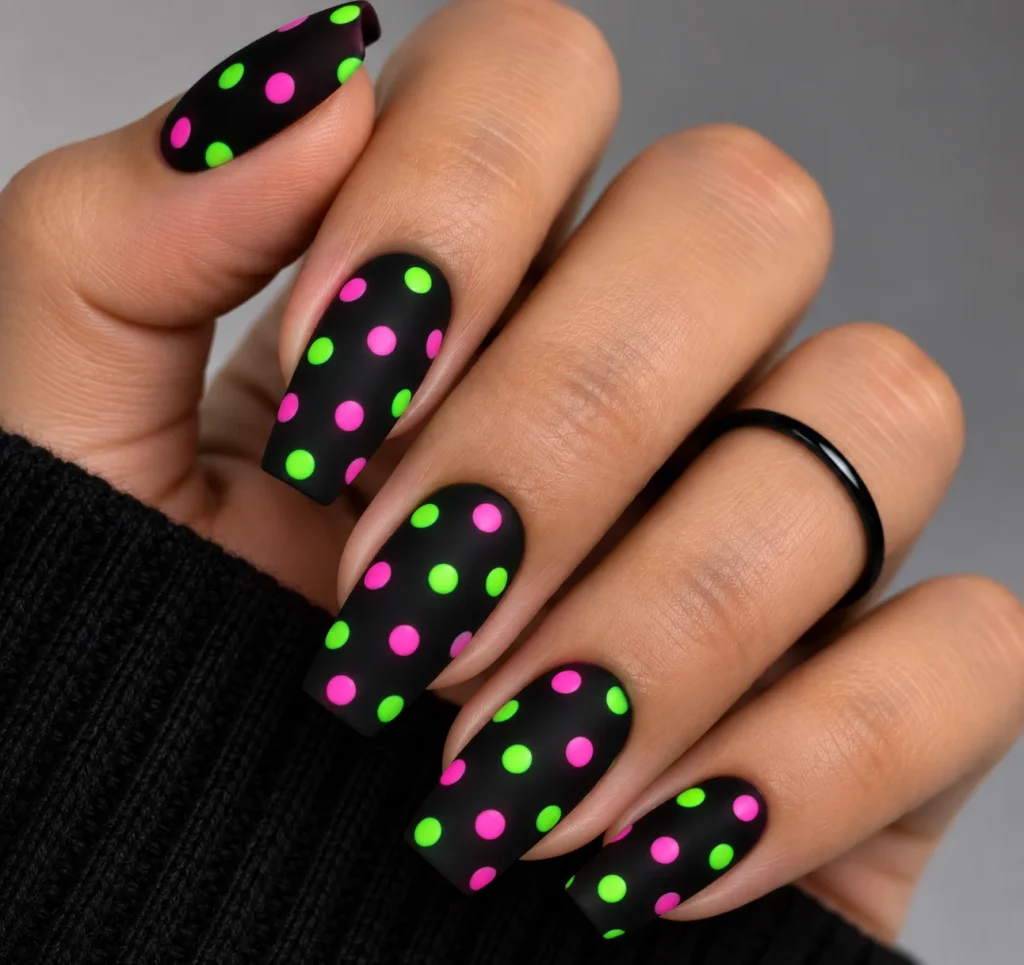
High contrast neon shades against a matte black base create a striking, editorial look for those who want something bolder.
16. Color-Blocked Nails with Dots
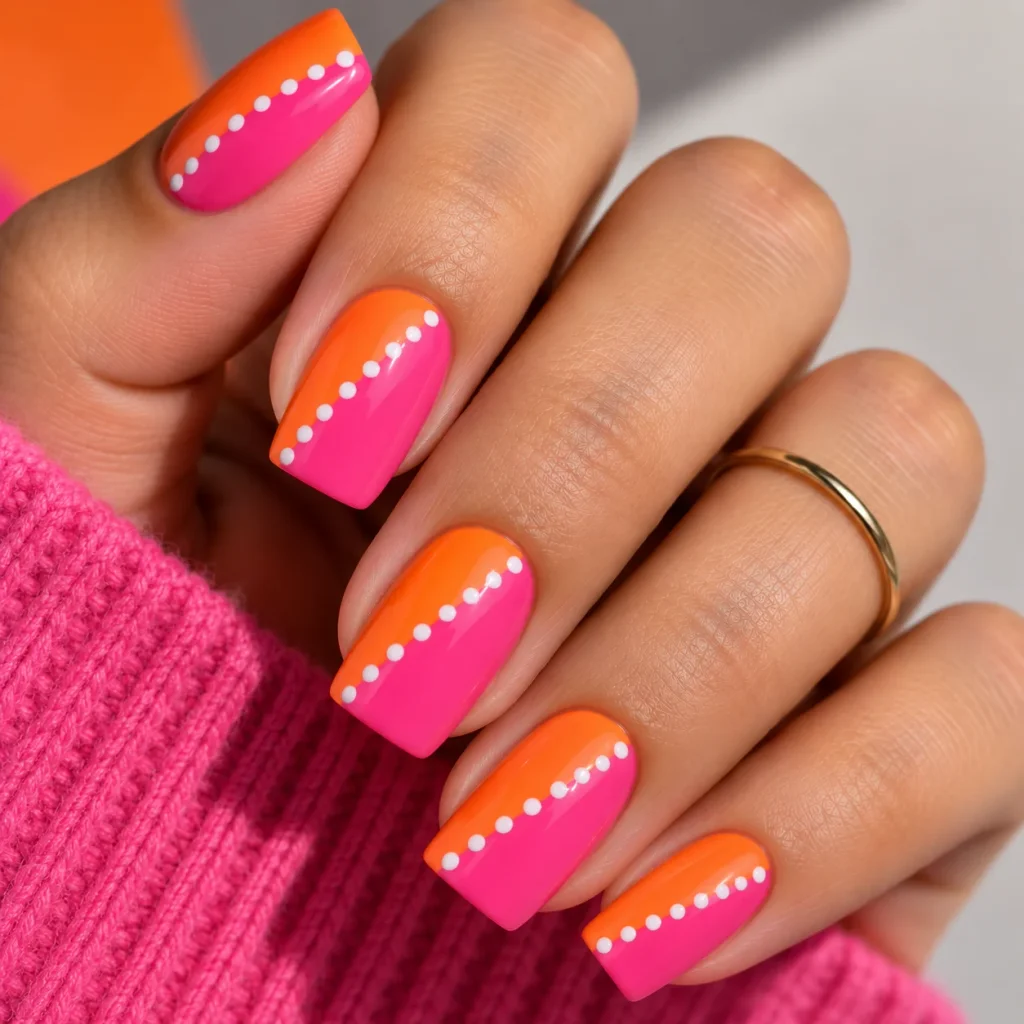
Split the nail into two colors diagonally, then add a few dots crossing the color line for a modern graphic effect.
Polka dots are perfect for a cute, graphic manicure, while fall chrome nails offer a sleek metallic alternative for the cooler months.
17. Multi-Size Dot Pattern
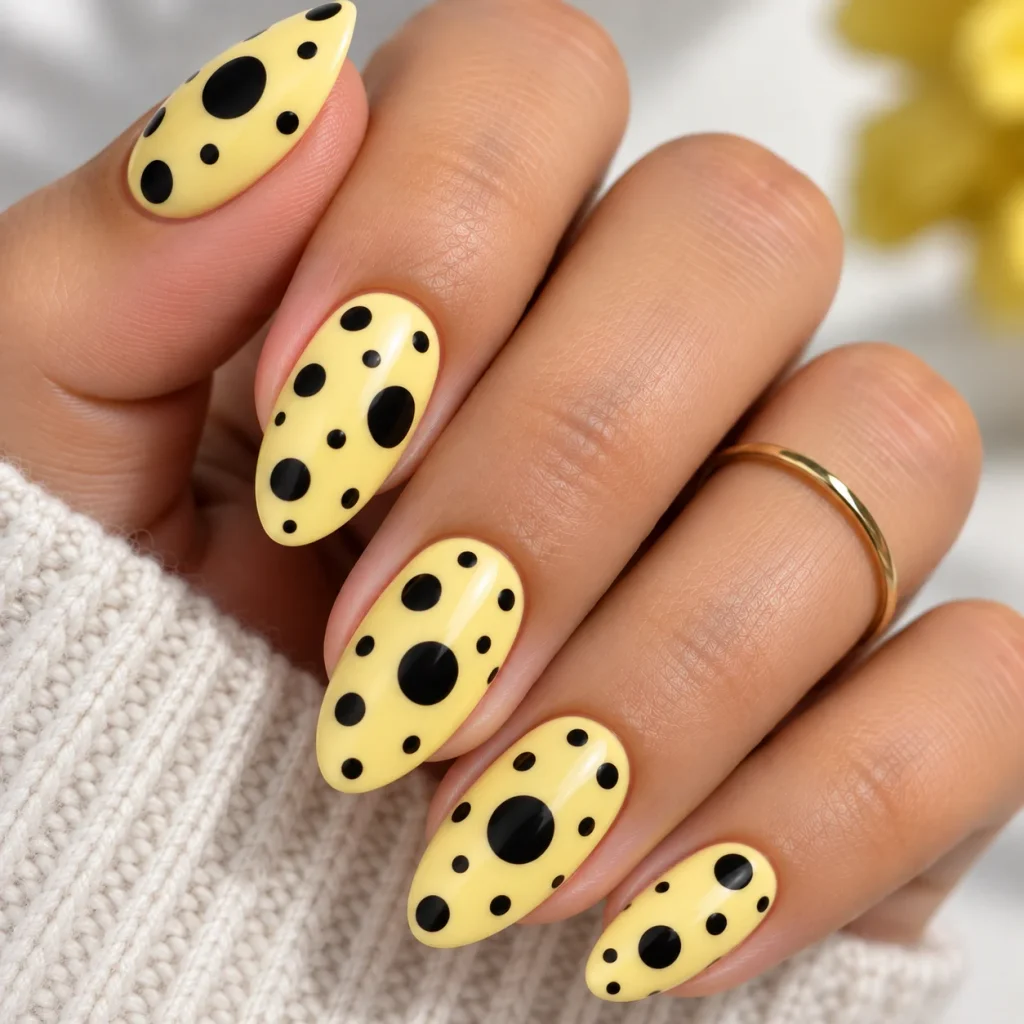
Vary dot sizes on the same nail, mixing large and small circles for a more artistic, less uniform pattern.
18. Bright Orange and Pink Polka Dot Nails
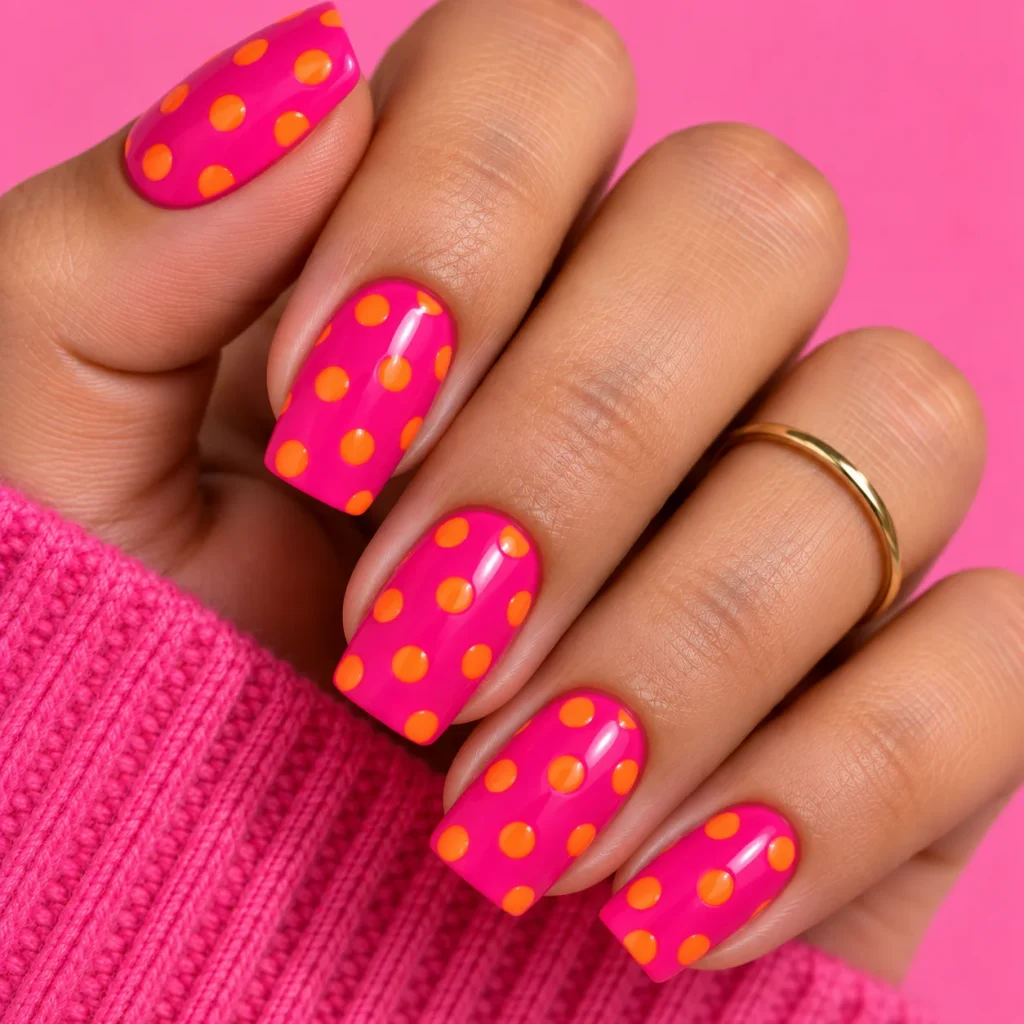
An unexpected color pairing that stands out in photos and works well for anyone wanting a statement manicure.
19. Yellow Dots on Sky Blue Base
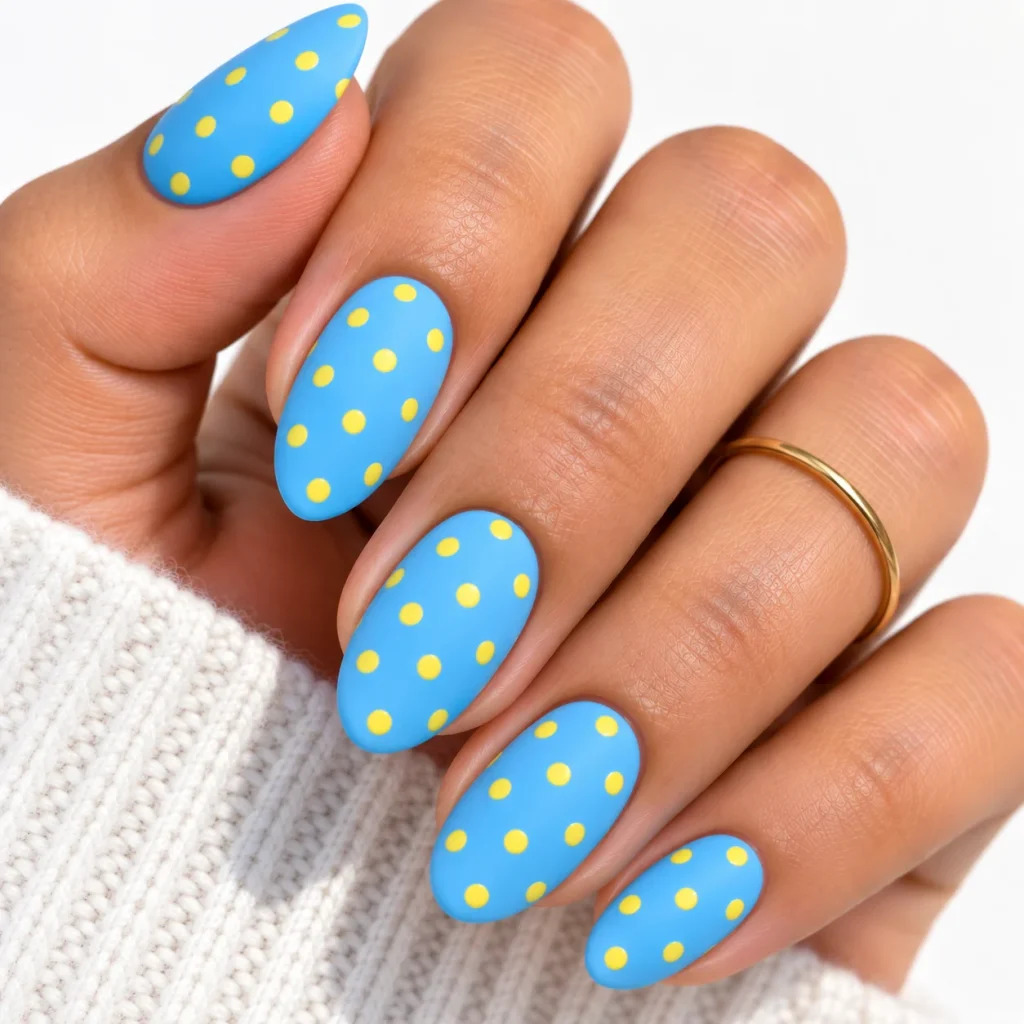
A cheerful, high-contrast pairing that reads as fresh and energetic without feeling overly bright.
French Tip Polka Dot Nails
20. Classic French Tip with Dots at the Base
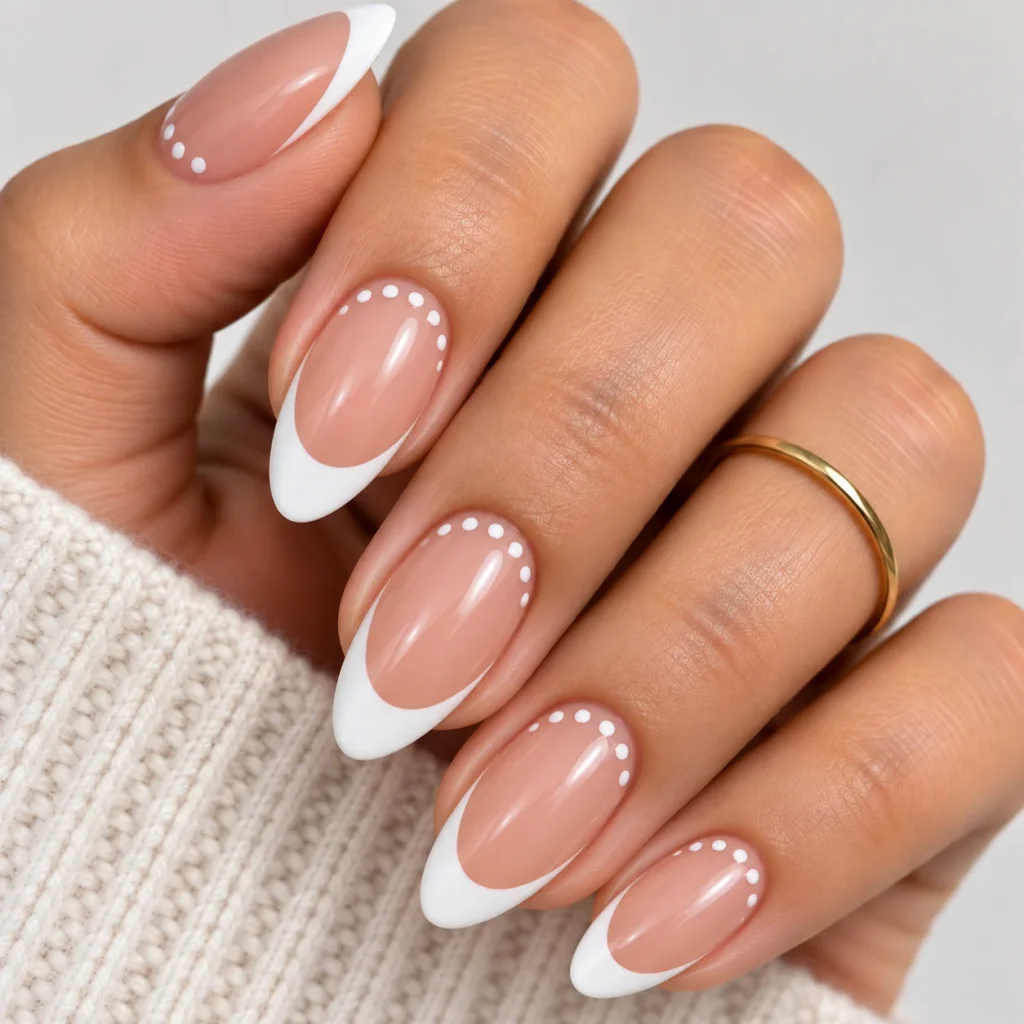
Keep a traditional white French tip and add a row of small dots along the cuticle line for a modern twist on a timeless style.
21. Colored French Tip with Polka Dots
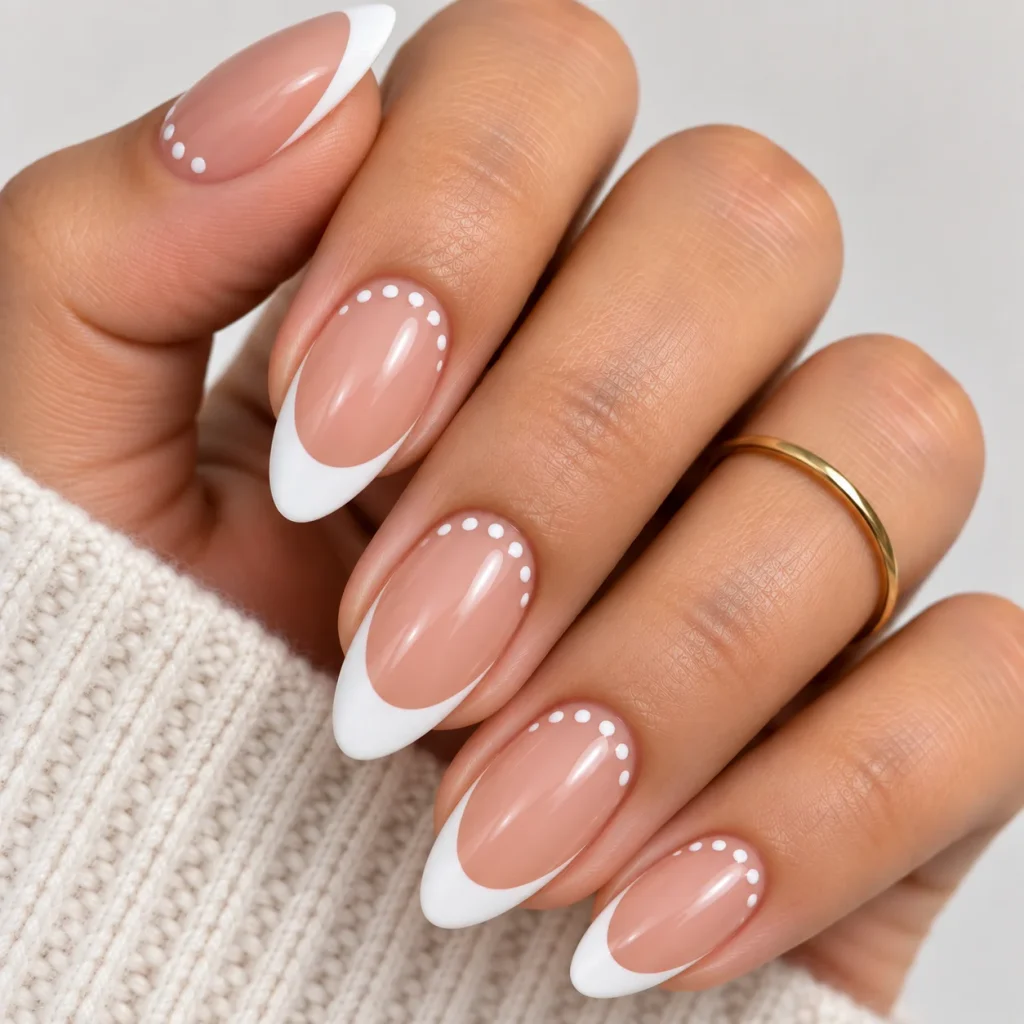
Swap the white tip for a pastel or bold color, then scatter dots across the rest of the nail bed. A striping tape kit helps keep the French line crisp before adding dots.
22. Reverse French with Dotted Tip
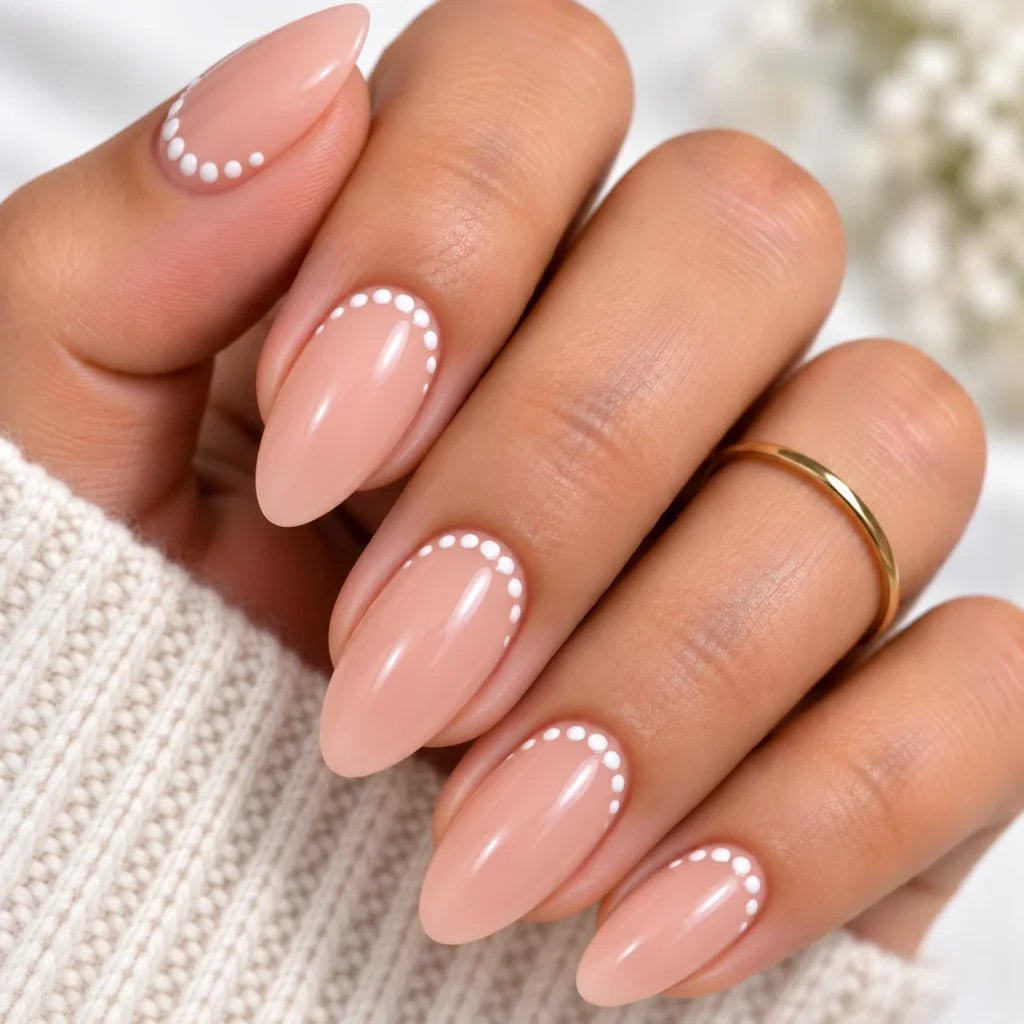
Instead of a solid tip, create the French line entirely out of small connected dots.
23. Double French with Dot Divider
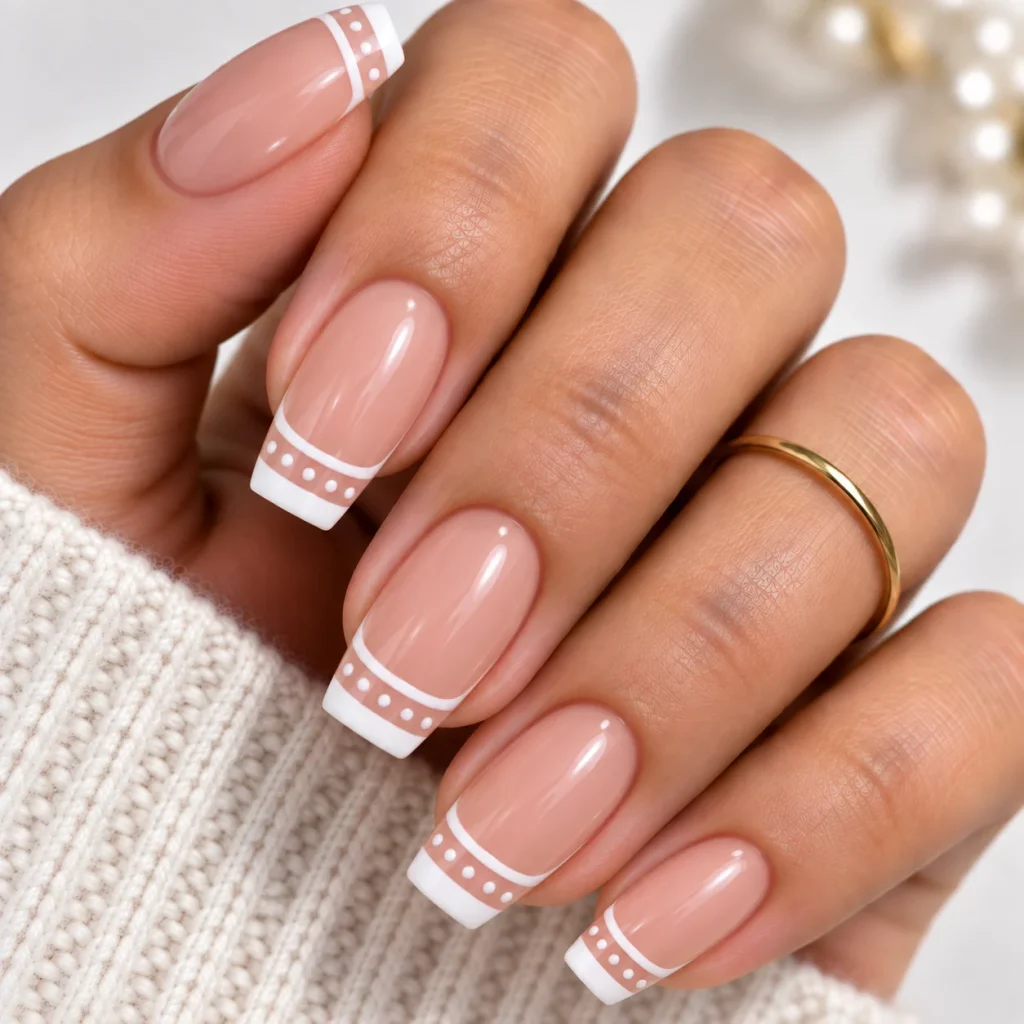
Two thin French lines with a row of tiny dots separating them for a layered, detailed design.
Pastel & Soft Polka Dot Nails
24. Baby Blue Base with White Dots
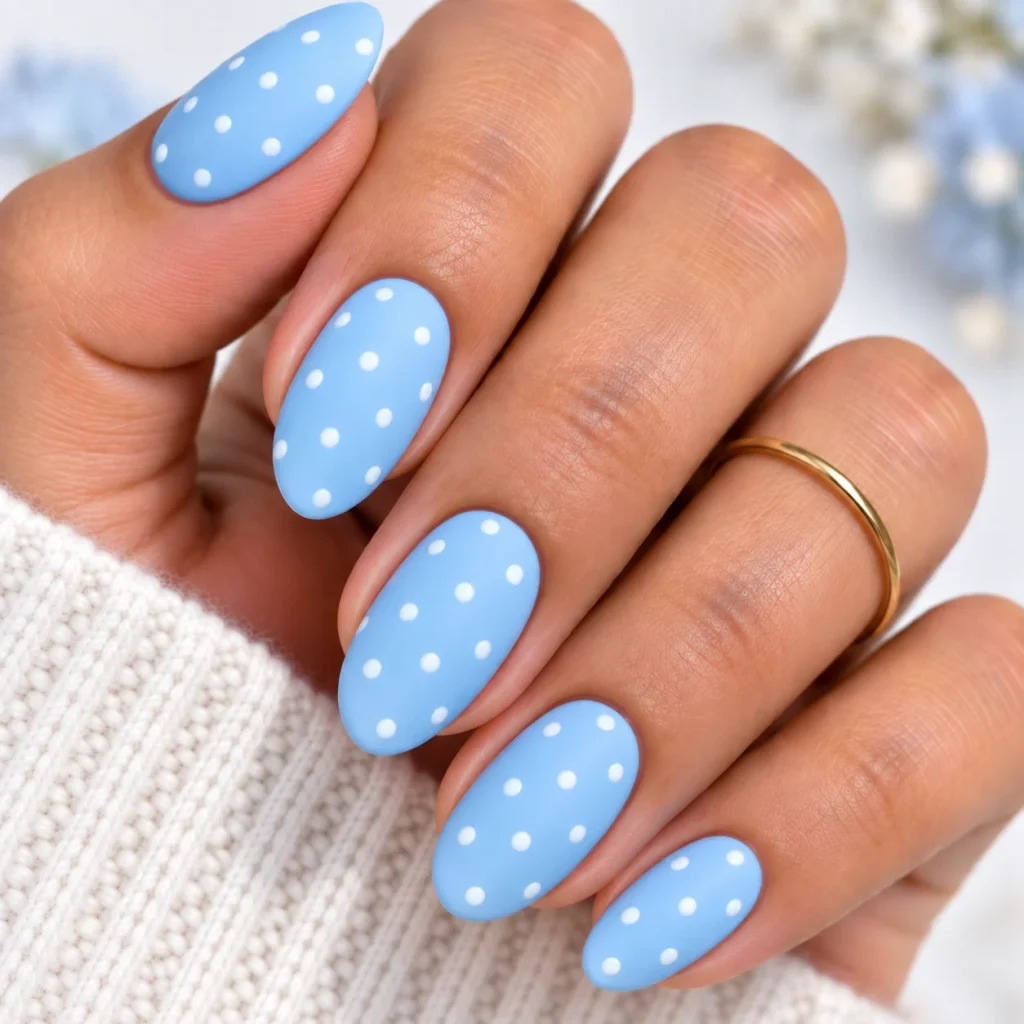
Soft and understated, this pairing suits everyday wear and pairs easily with most outfits.
25. Lavender Base with Silver Dots
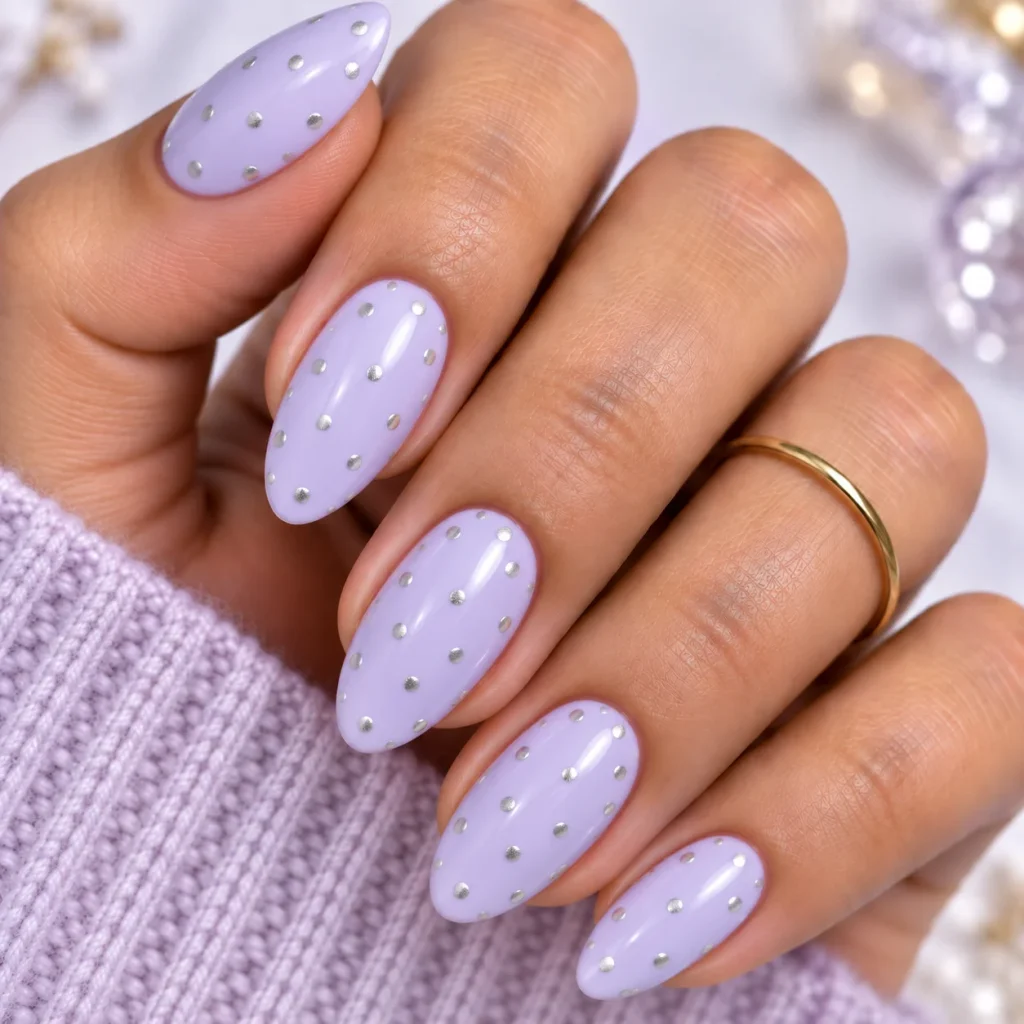
A slightly dressier pastel option that catches light nicely thanks to the metallic dot color.
26. Blush Pink with Cream Dots
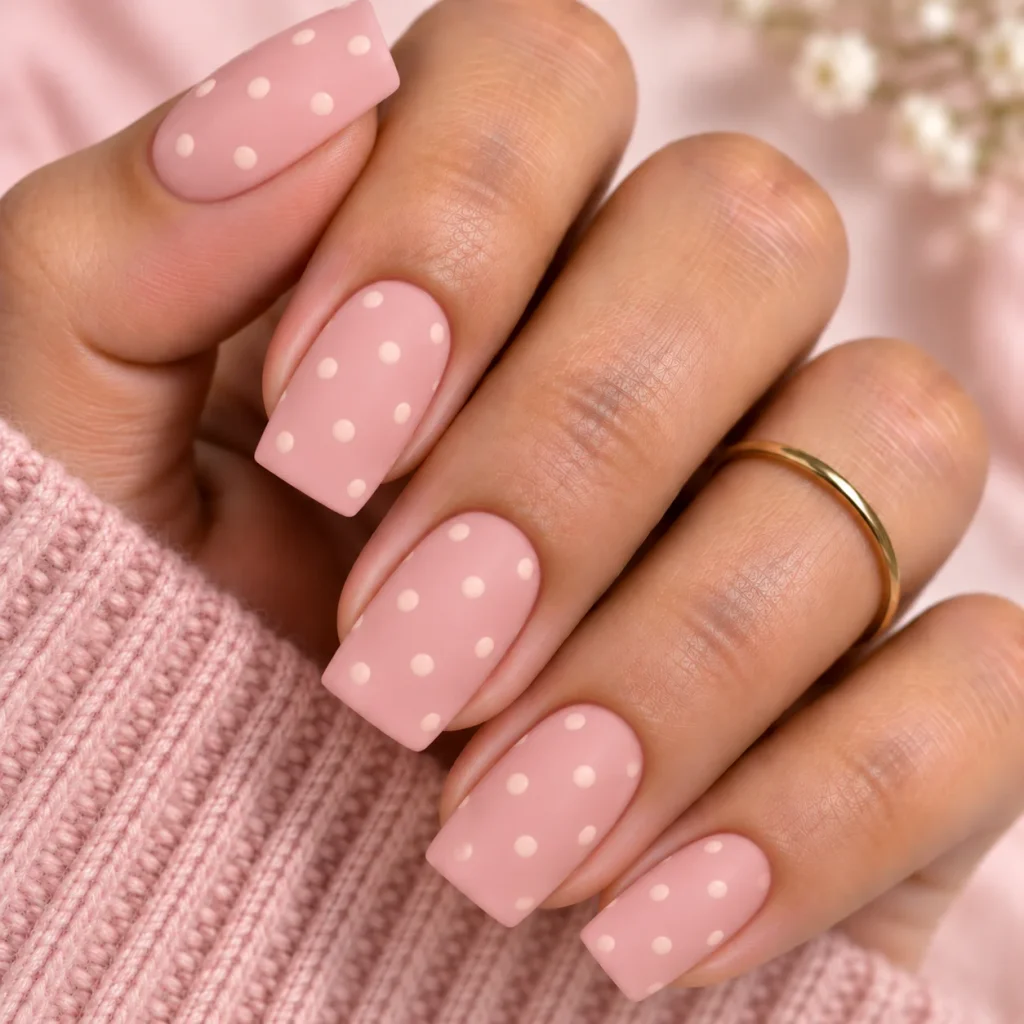
A tone-on-tone approach where the dots are only slightly lighter than the base, giving a subtle, sophisticated finish.
27. Mint Green with White Outline Dots
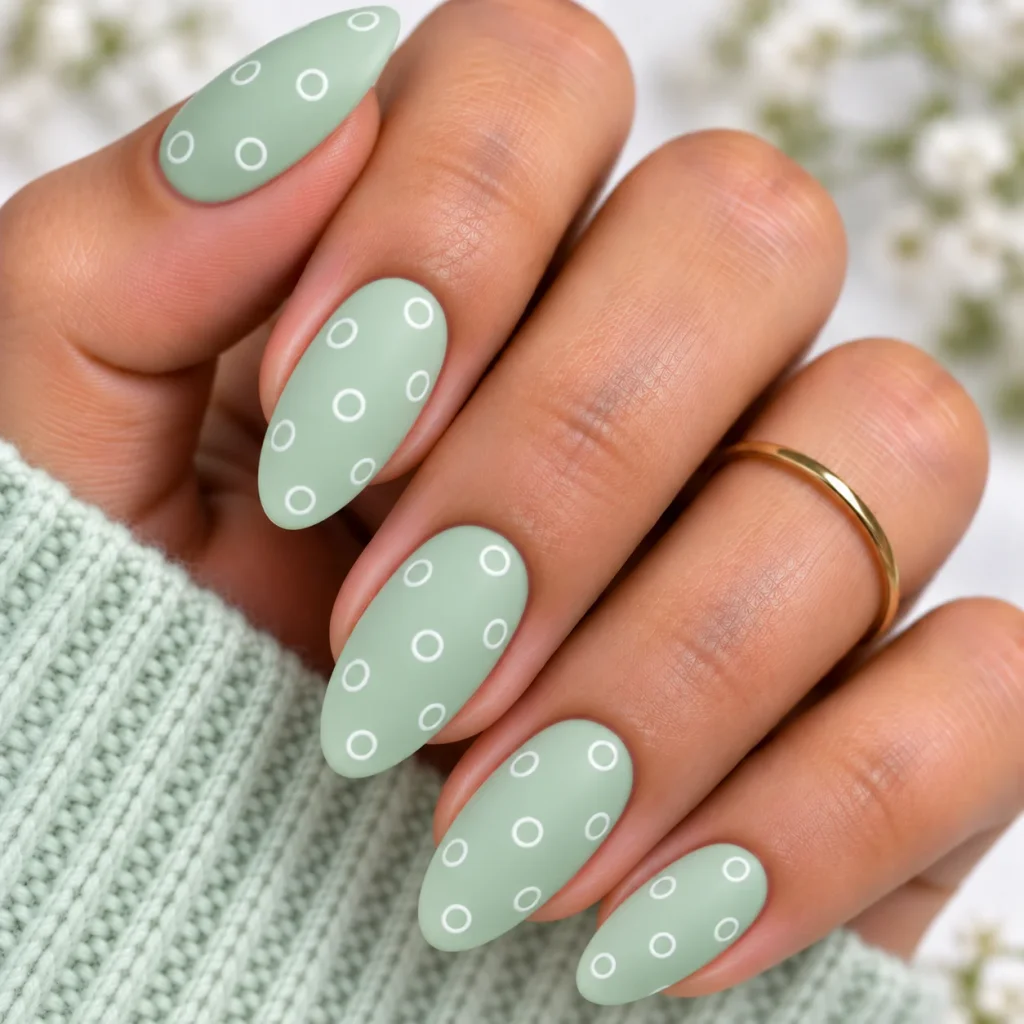
Outlined rather than filled dots keep this pastel look airy instead of heavy.
Chrome, Metallic & Glossy Polka Dot Nails
28. Chrome Base with Matte Dots
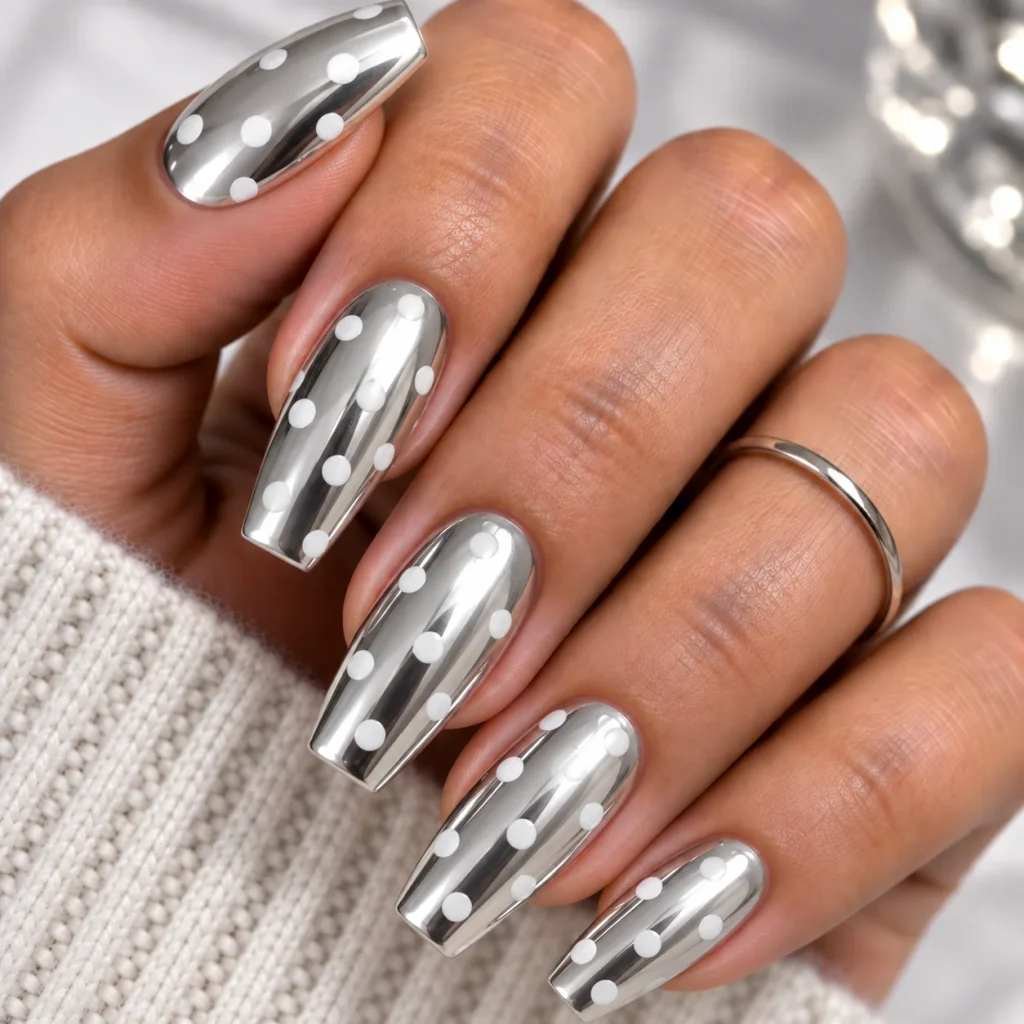
The combination of a shiny chrome finish and flat matte dots creates dimension through texture contrast alone.
29. Silver Foil Dots on Sheer Base
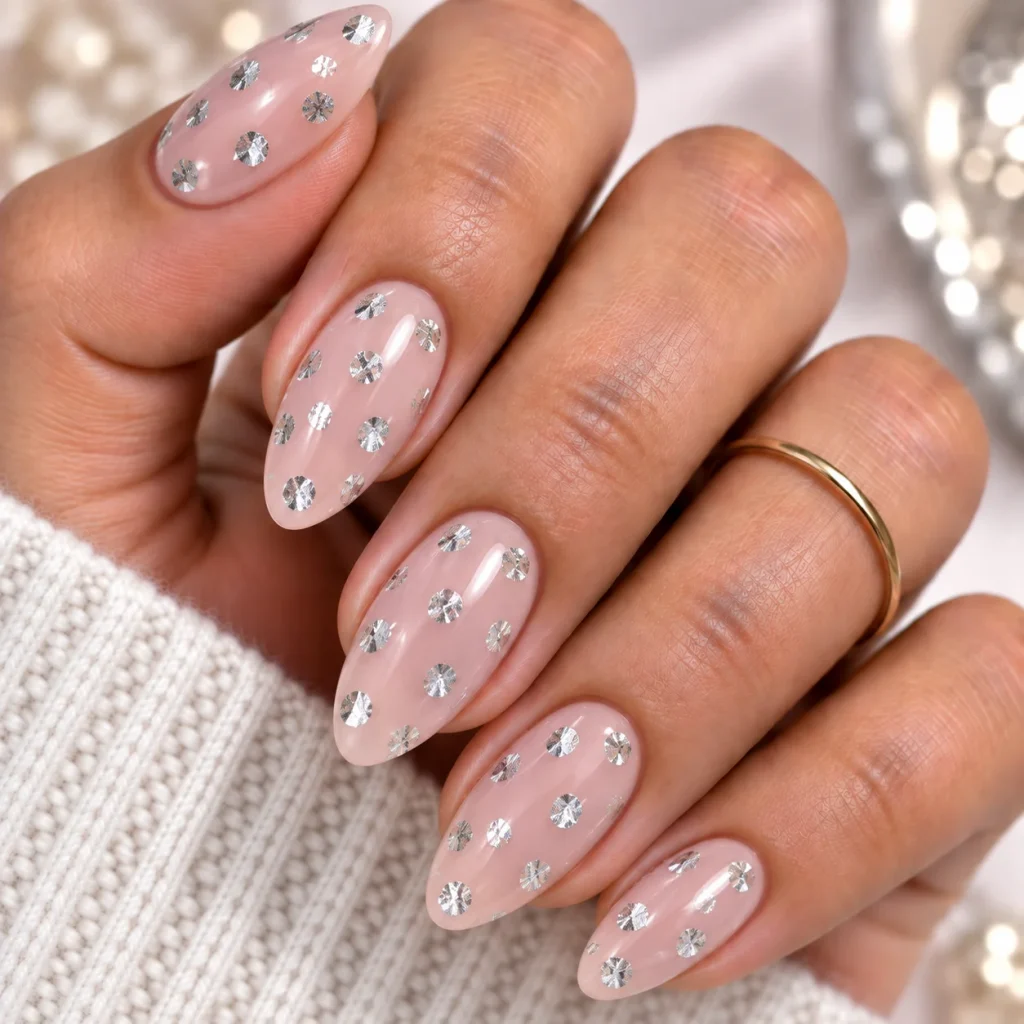
Press small pieces of silver foil onto wet top coat in a dot pattern for a metallic effect without freehand painting.
30. Holographic Dots on Solid Color
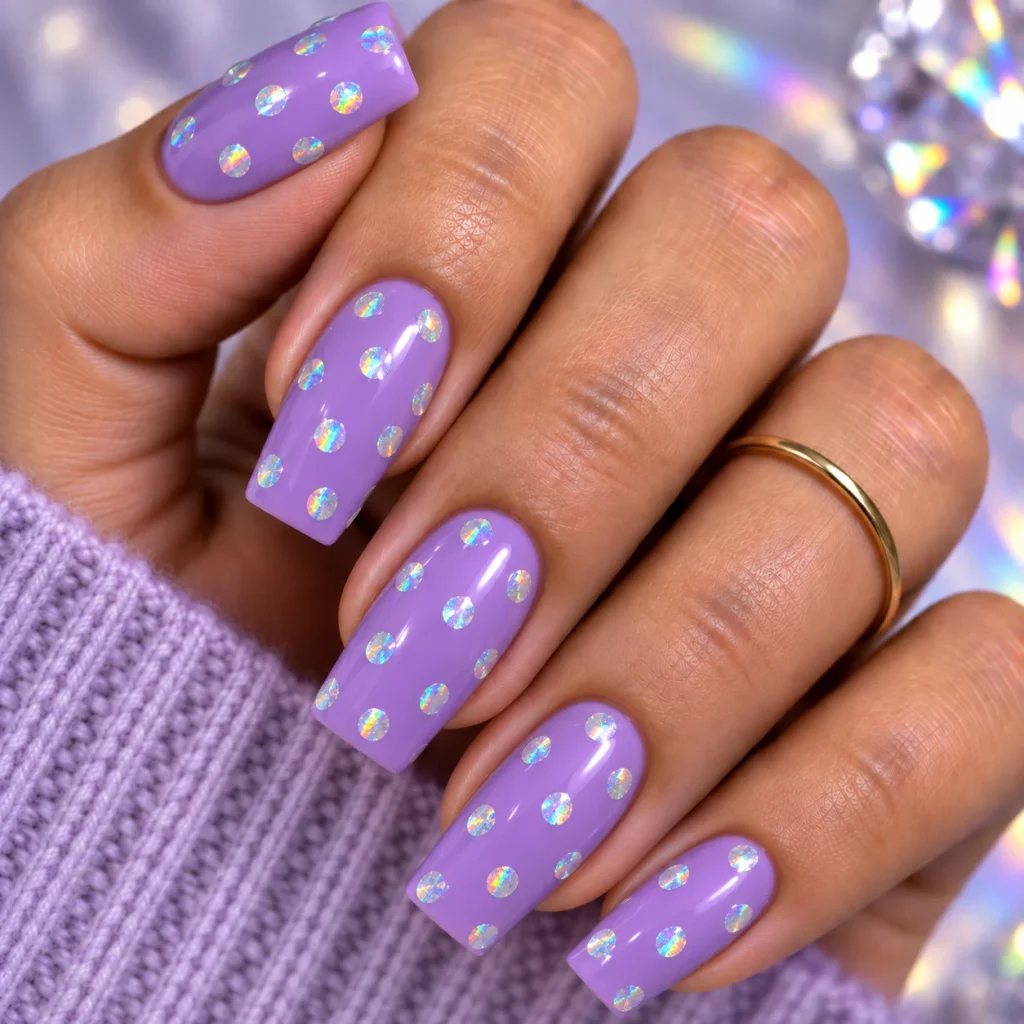
Holographic polish dabbed on in dot form shifts color under different lighting, making this a favorite for video content.
31. Pearl Finish Polka Dot Nails
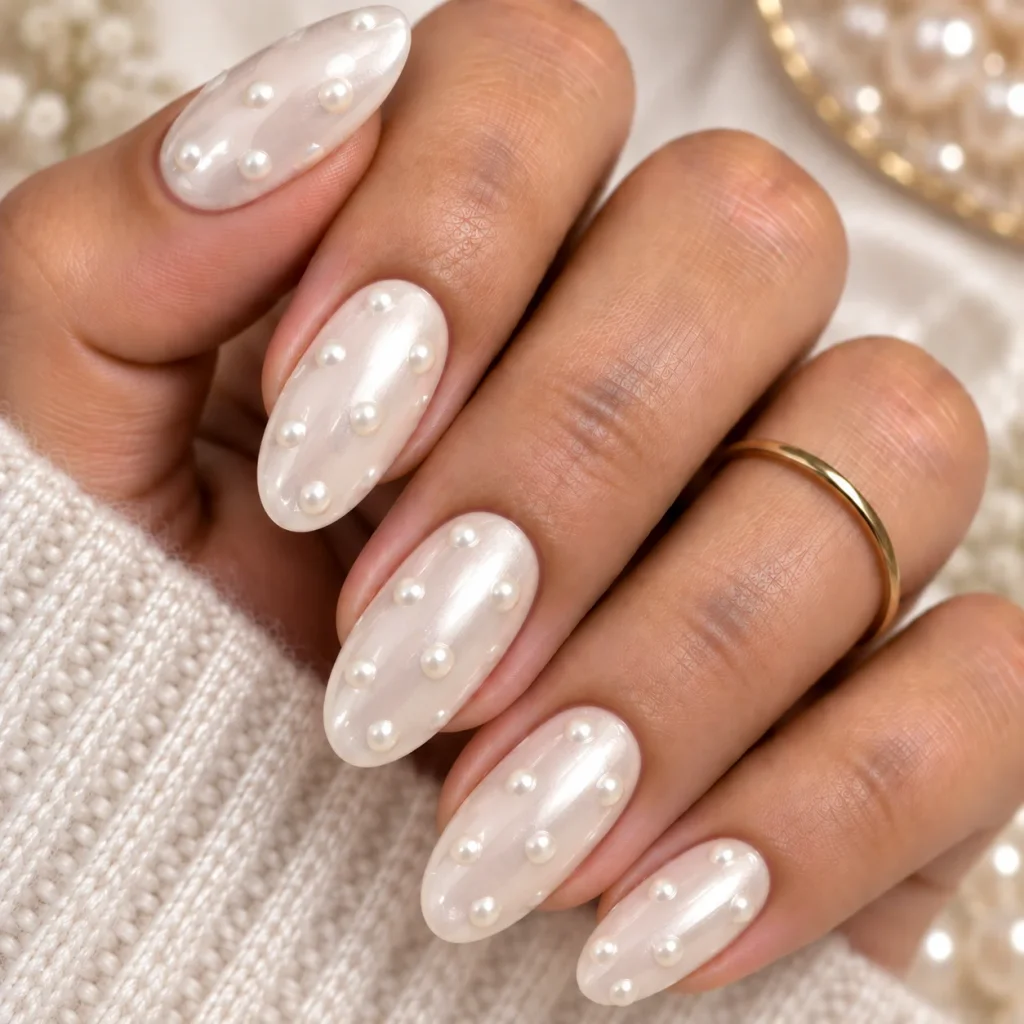
Pearlescent polish dots add subtle shimmer that reads as elegant rather than flashy, good for weddings or formal events.
Nail Shape Specific Polka Dot Ideas
32. Almond Nails with Vertical Dot Rows
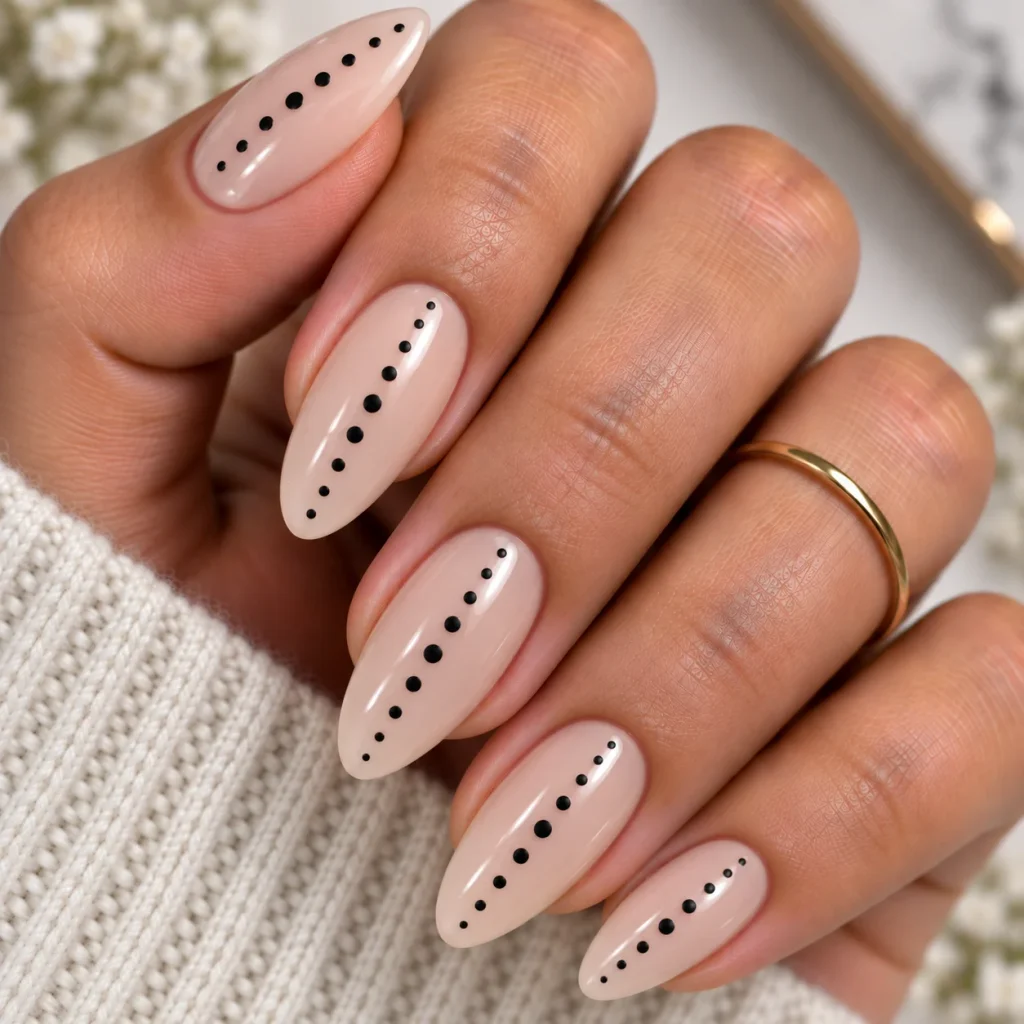
The elongated shape of almond nails works well with dots arranged in a single vertical line rather than scattered randomly.
33. Coffin Nails with Oversized Dots
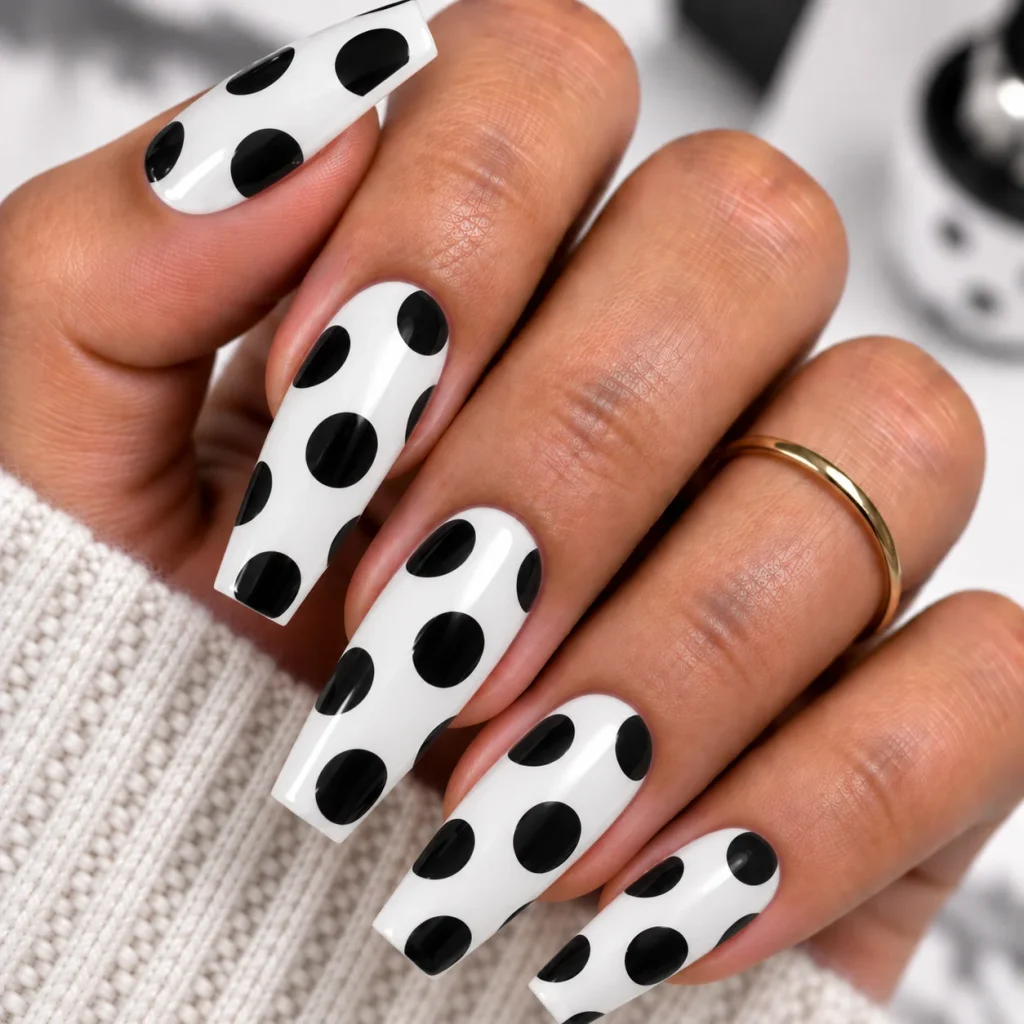
The wider nail bed on coffin shapes has more room for larger dots, making this shape ideal for bolder patterns.
34. Short Square Nails with Mini Dots
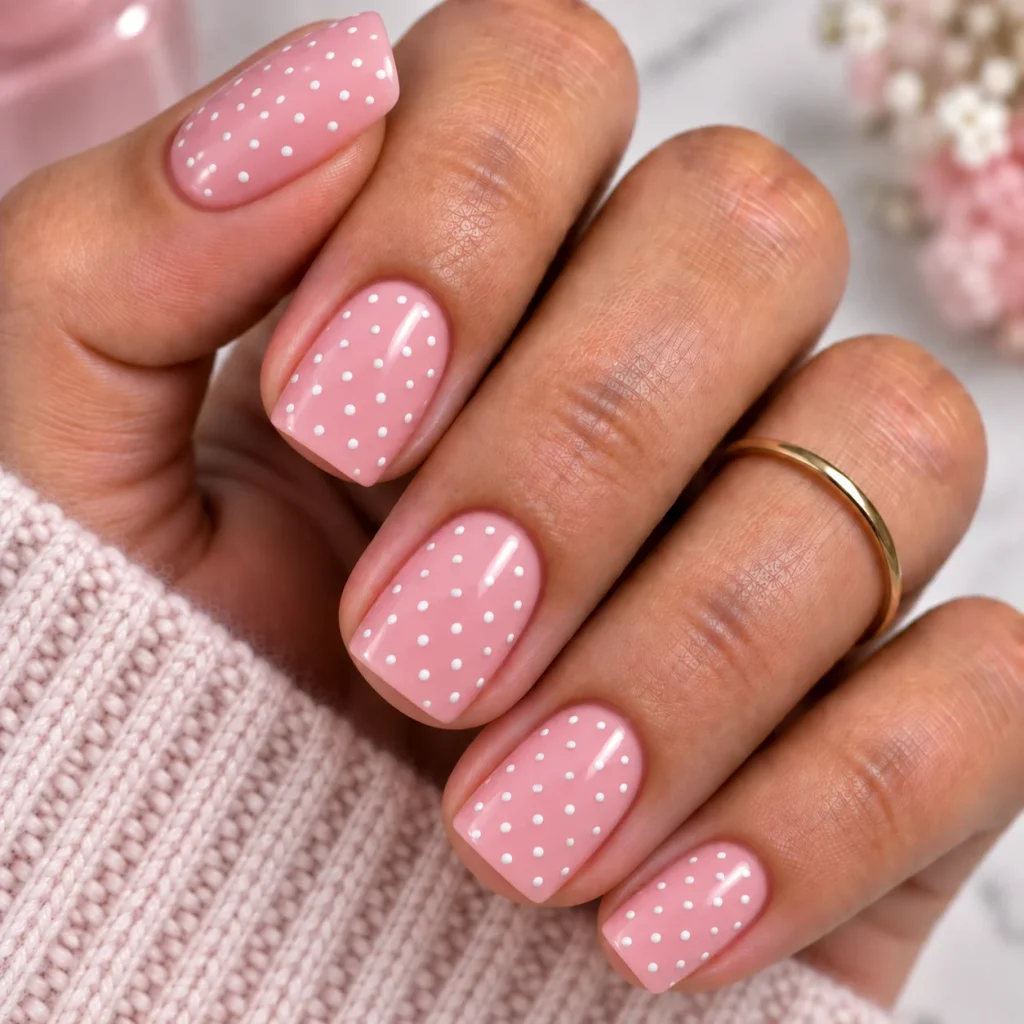
Smaller nails call for smaller, closely spaced dots so the pattern doesn’t overwhelm the limited surface area.
35. Round Nails with Centered Single Dot
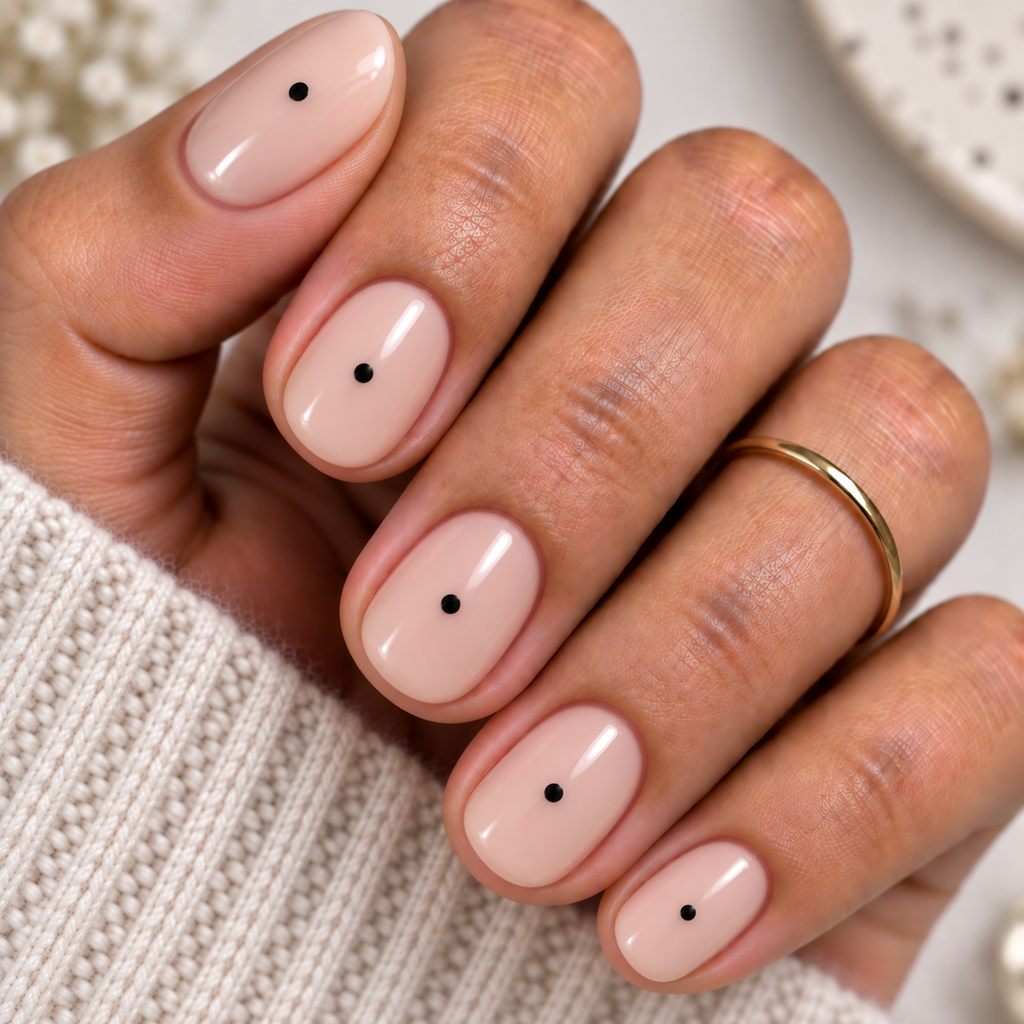
One dot placed in the center of a round nail keeps the look clean and works especially well for shorter, natural nail lengths.
Tools and Products That Make This Easier
Getting clean, even dots comes down to having the right tools rather than natural talent. A few things worth keeping in your nail kit:
- A dotting tool set with multiple tip sizes lets you create both tiny accent dots and larger statement circles from the same kit, which is useful since most designs on this list mix dot sizes.
- Nail vinyl stencils designed for dot patterns are useful if you want perfectly uniform circles without freehand practice, especially for symmetrical designs like the classic red-and-white combination.
- A gel polish set in a range of colors gives you more flexibility for base and dot color combinations, and gel formulas tend to hold their shape better than regular polish when dotting since they don’t spread as easily.
- Striping tape helps if you’re combining polka dots with French tips or color-blocked designs and need a clean straight edge before adding your dots.
- A quick-dry top coat is worth the investment since polka dot designs have raised texture from the dots, which takes longer to dry and smudges more easily without one.
- If freehand painting isn’t for you, press-on polka dot nails are a reliable shortcut that still gives the full look without the drying time, and they’re a practical option for special occasions when you don’t have time to wait for polish to cure.
- Finish your set with a cuticle oil pen to keep the surrounding skin looking as polished as the design itself, since dry cuticles can make even a well-done manicure look unfinished.
Which Nail Shape Works Best for Polka Dot Nails?
Polka dot nails work on every shape, but the pattern reads differently depending on the canvas. Almond and oval shapes suit vertical or diagonal dot arrangements because of their length, which draws the eye upward. Square and coffin shapes have more flat surface area, which makes them ideal for larger, evenly spaced dots that would look cramped on a narrower nail. Round and short nails look cleanest with fewer, smaller dots since there’s less room to work with before the design feels crowded.
If you’re unsure where to start, short and medium-length nails generally handle small, closely spaced dots better, while longer nails have enough room to experiment with varied dot sizes or vertical rows.
How to Do Polka Dot Nails at Home (Step-by-Step)
You don’t need a nail technician for this one. Here’s the simplest method, broken into steps that work whether you’re using regular polish or gel.
- Prep your nails. Push back cuticles, buff the surface lightly, and wipe with rubbing alcohol to remove oils. This step matters more than people expect, since polish applied over oily nails peels faster.
- Apply a base coat. This protects your natural nail plate and helps polish last longer without staining.
- Paint your base color. Use two thin coats and let each one dry fully before moving on. Thin coats dry faster and reduce the risk of smudging when you add the dots.
- Add the dots. Dip a dotting tool set into your chosen polish and gently tap the tip onto the nail without pressing too hard, which can distort the circle shape. Reapply polish to the tool between each dot for consistent size and opacity.
- Space them out. Leave a little breathing room between dots so the design doesn’t look cluttered. A common mistake is placing dots too close together, which can make the pattern look messy once it dries.
- Layer for opacity if needed. Some polish colors, especially white and pastel shades, need a second dot layer once the first dries to look fully opaque.
- Seal with top coat. A quick-dry top coat locks in the design and adds shine while preventing smudging. Wait at least two minutes after your last dot before applying it.
If you don’t own a dotting tool, a bobby pin head, the tip of a hairpin, or even the end of a pencil eraser works almost as well for smaller dots. For larger dots, the back of a small paintbrush handle can work in a pinch.
How Long Do Polka Dot Nails Last?
With regular polish, polka dot nails typically last 5 to 7 days before chipping becomes noticeable, similar to any standard manicure. Using gel polish extends that to 2 to 3 weeks, which makes gel a better option if you’re planning to keep the design for an extended period.
Because the dots create a slightly raised, textured surface, sealing the design with a thick top coat matters more here than with a flat, single-color manicure. Reapplying top coat every few days can add extra wear time between salon visits, and it also helps prevent the edges of each dot from lifting or catching on fabric.
Common Mistakes to Avoid
Before jumping into design ideas, it helps to know what tends to go wrong with this manicure style:
- Using polish that’s too thin. Sheer or watery formulas spread out before they set, turning clean dots into blurry blobs.
- Not cleaning the dotting tool between colors. Leftover polish on the tip can muddy your next color.
- Rushing the drying time. Polka dots create a raised, textured surface, and touching the nail too soon smudges the pattern more easily than a flat manicure.
- Overcrowding the design. More dots isn’t always better. Leaving negative space often looks more intentional than filling every inch of the nail.
Keeping these in mind will save you a few frustrating redo attempts, especially if this is your first time trying the look.
Frequently Asked Questions About Polka Dot Nails
What polish works best for making dots?
Regular cream polish tends to hold its shape better than sheer or shimmer formulas when creating dots, since thinner polish spreads before it sets. Gel polish holds shape even more reliably if you’re comfortable curing under a lamp.
Do I need a special tool to make polka dots nails?
No. While a dotting tool gives the cleanest results, household items like a bobby pin, toothpick, or the end of a paperclip can create similar effects in a pinch.
Are polka dot nails appropriate for work?
Yes, polka dot nails especially designs using neutral or muted color combinations like nude with black dots, or cream with brown dots. Bolder color pairings are better suited for casual settings or weekends.
Can polka dot nails work on short nails?
Yes. Smaller, closely spaced dots actually look cleaner on shorter nails than larger patterns, which can appear cramped on limited surface area.
How do I keep dots from smudging while wet?
Let each layer dry for at least two full minutes before applying the next, and avoid touching the nail surface until the top coat has fully cured. Using a quick-dry top coat also reduces the smudging window significantly.
Can I do polka dot nails with gel polish?
Yes, and it’s often recommended if you want the design to last longer. Cure each layer, including the dots, under a UV or LED lamp before moving to the next step.
What’s the easiest polka dot nails design for beginners?
A single accent nail with a few scattered dots is the easiest entry point, since it requires less precision than a full ten-nail pattern and still looks polished.
Final Thoughts
Polka dot nails remain popular for a simple reason: the design is flexible enough to look minimal or bold depending on how you style it, and forgiving enough for anyone to try at home. Whether you’re drawn to the classic red-and-white combination or want to experiment with chrome finishes and oversized dots, there’s a version of this manicure suited to your style, nail shape, and skill level. Pin your favorites from this list, gather a few basic tools, and give one a try this week. Once you find a color combination or dot size that works for your hands, it becomes one of the easiest manicures to repeat without getting bored of it.